How to make W7500 Keil Project
(C) COPYRIGHT 2015 WIZnet
-
author : IOP Team
-
version : V1.0.0
-
date : 1-May-2015
-
brief : Description of making a new Keil Project of W7500.
-
develop environment : Windows 7 32/64bits, Keil Version 5.10
Introduction
This application note is a tutorial for making a KEIL project for W7500 MCU. This document show you how to make a project and a bin file for W7500 step by step in order for you to follow up easily.
STEP 1. Download and install KEIL5!
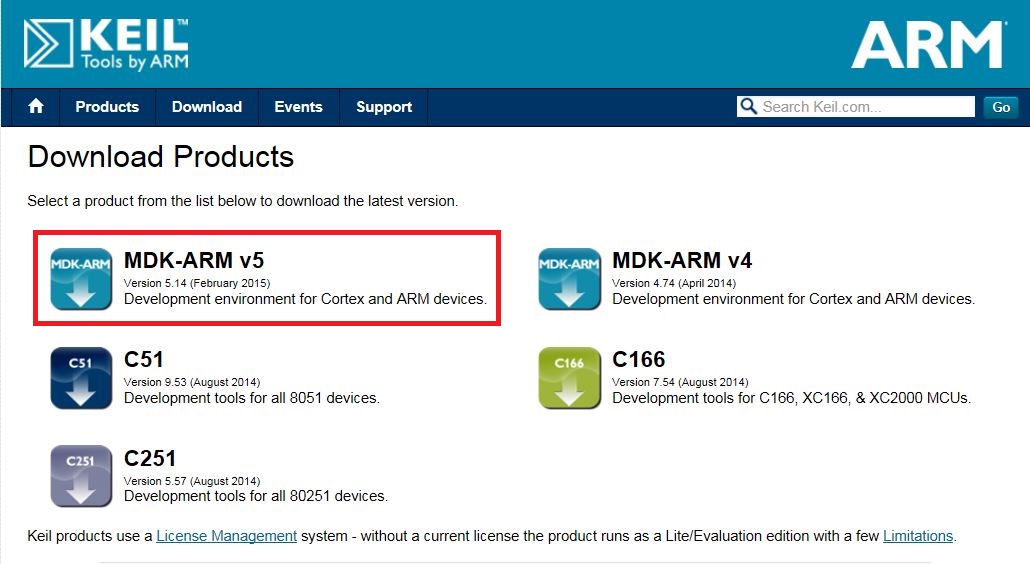
STEP 2. Download W7500 Library!
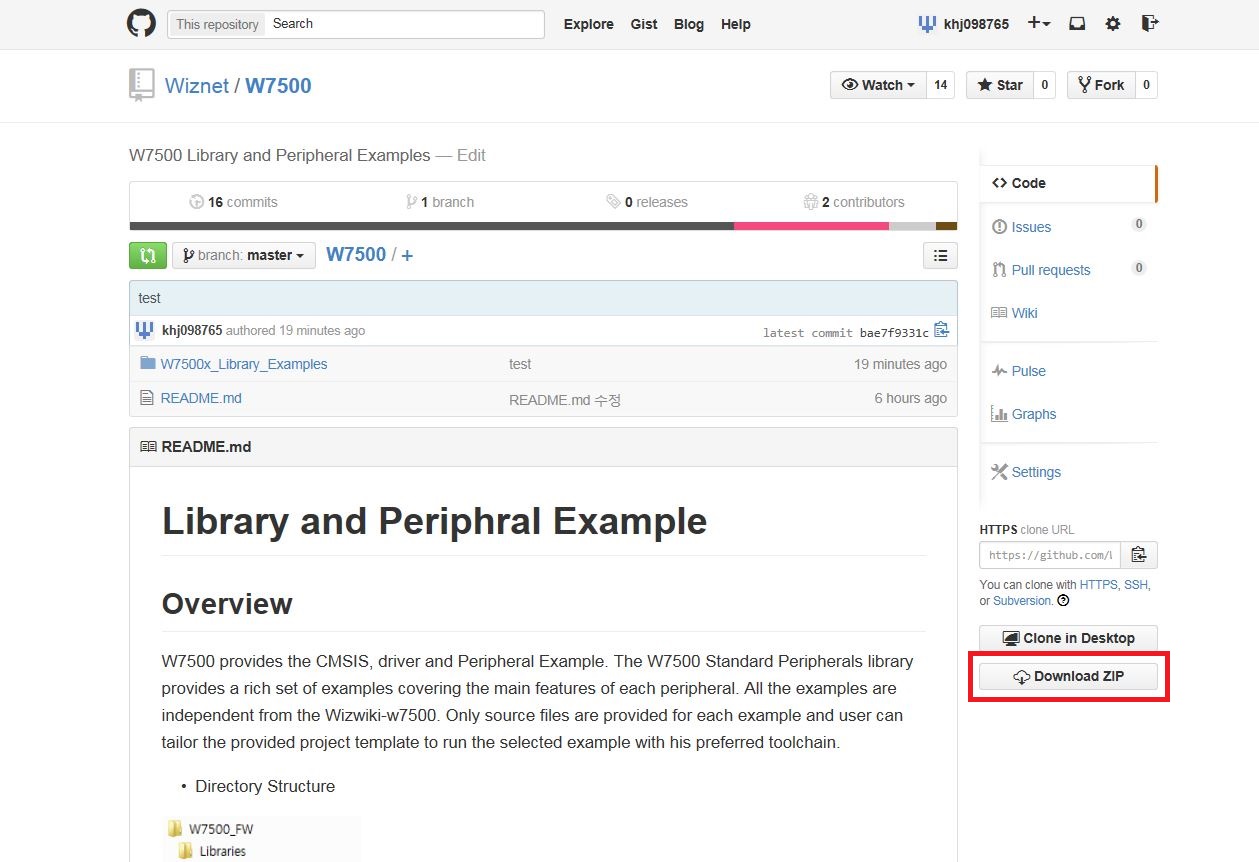
You can download W7500 Library from WIZnet's Github repository : W7500 Library
STEP 3. make workspace! and move the W7500 Library to workspace!
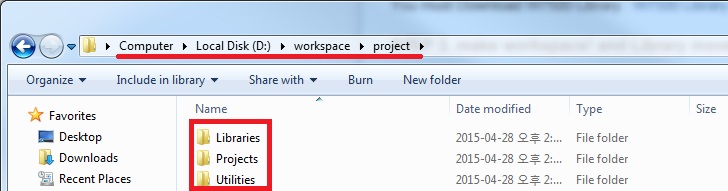
In this example, it is D:\workspace\project\Library
STEP 4. Execute KEIL5 and make new project!

Click to New uVision Project...

Select a project save folder and choose project name. In this example, D:\workspace\project\W7500_test\W7500_Test.uvproj
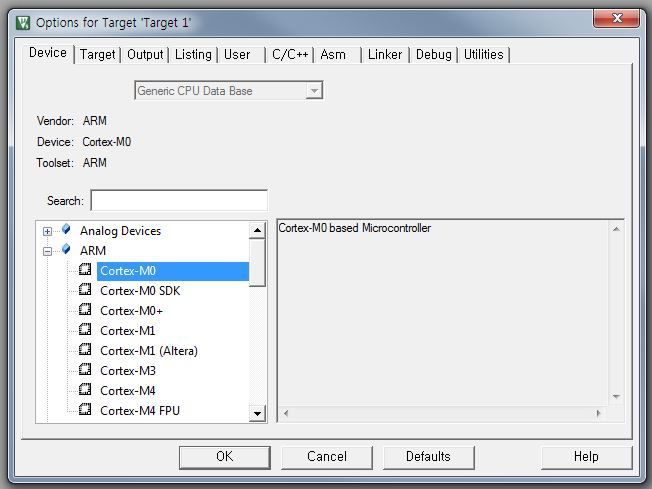
Choose 'Cortex-M0' because W7500 MCU is based on Cortex-M0
STEP 5. W7500 start up code and system code setting!

Return to project. You need to make the same folders like the image which is shown on right side
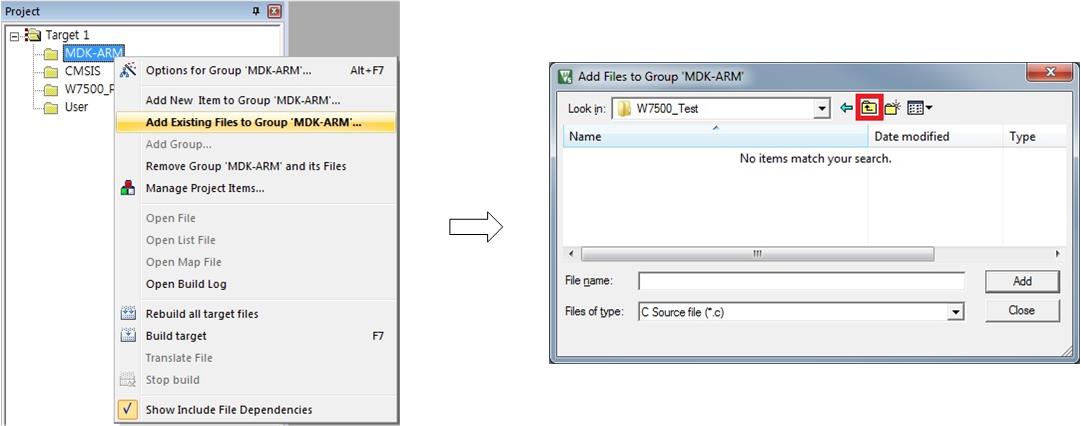

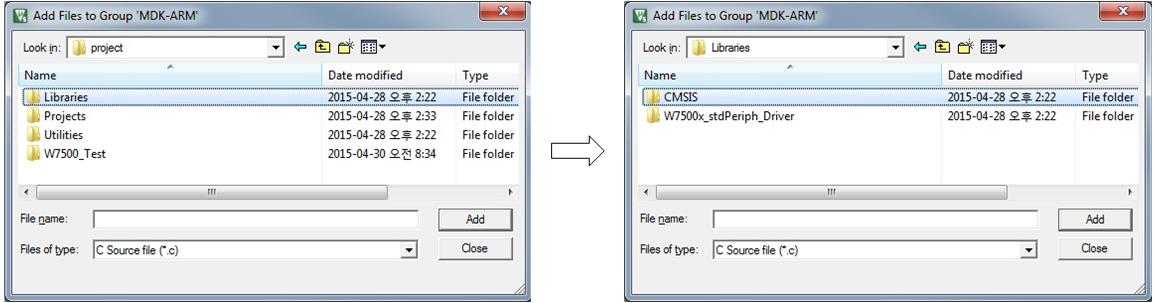
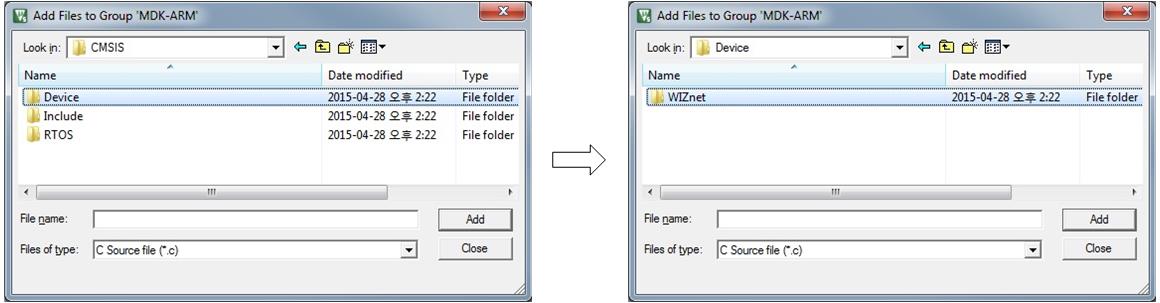
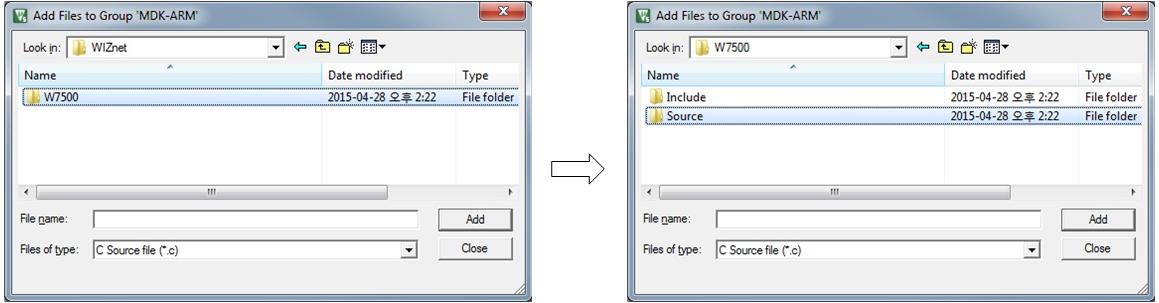
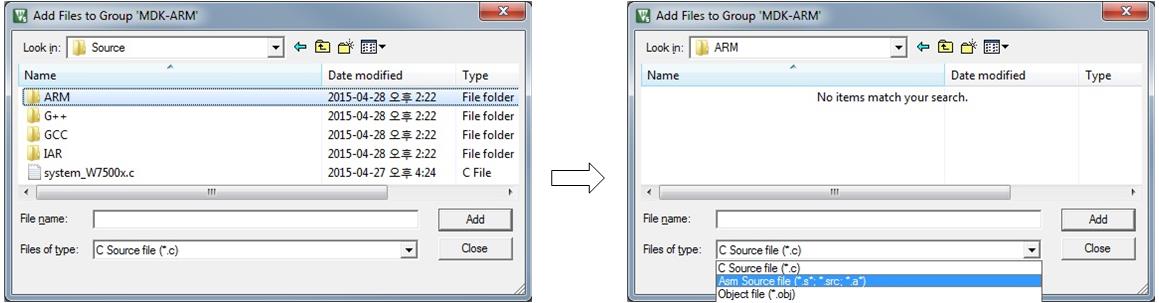
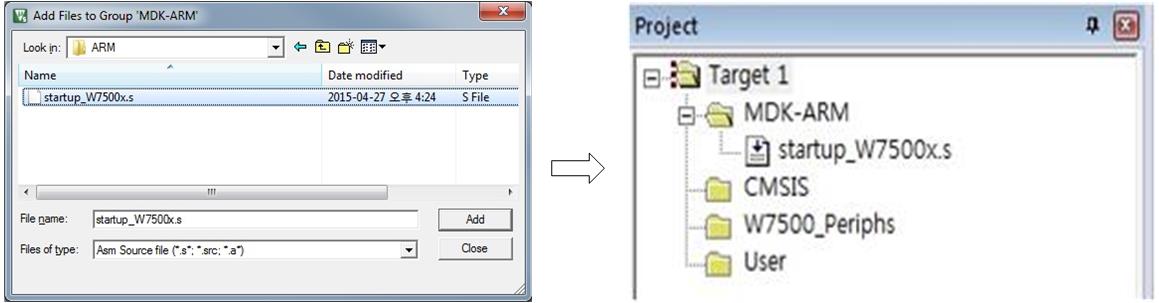
Follow like upper images.
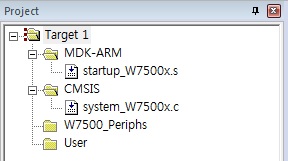
And in the same way... CMSIS Folder include D:\workspace\project\Libraries\CMSIS\Device\WIZnet\W7500\Source\system_W7500.c file
W7500_Periphs folder includes Peripherals to use.
And User folder has to include main.c and so on.
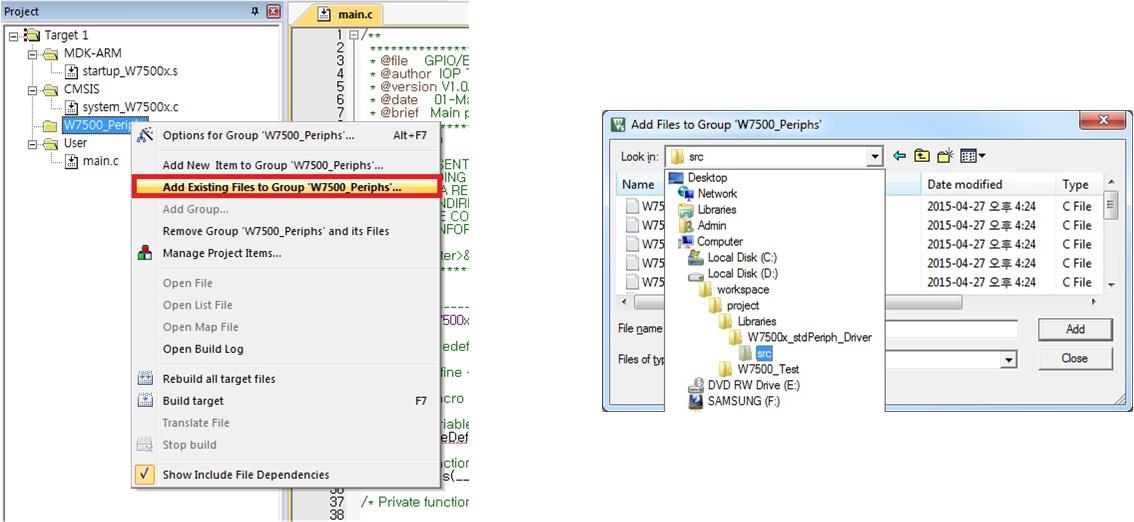
Let's make main.c
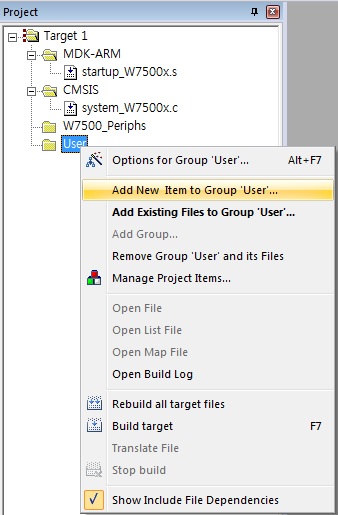
Click to Add New Item to the Group.
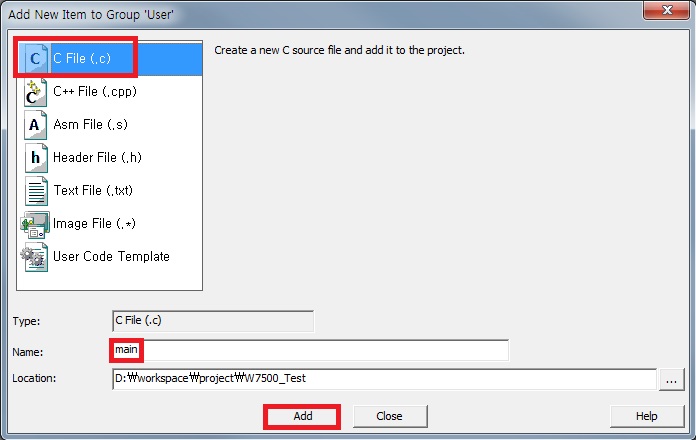
Select C file and Name it with 'main' and click 'Add'.
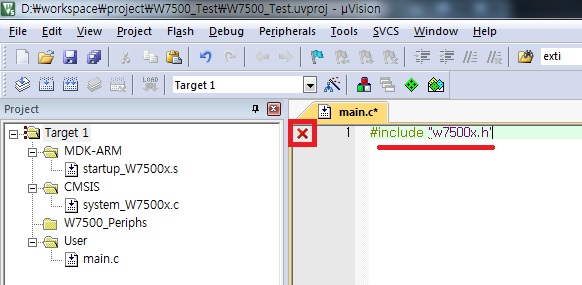
Include w7500x.h header but... you should show red X because you did not path.
STEP 6. setting for include paths
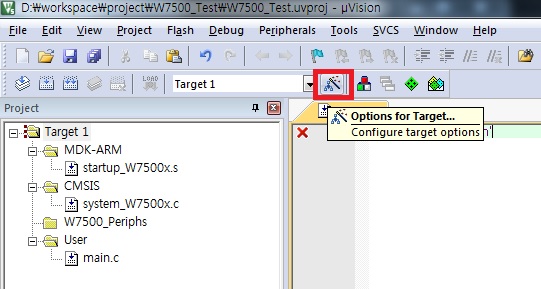
Click to Options for Target...

Select 'Include Paths' in C\C++ tap and click the folder icon and click to ... icon
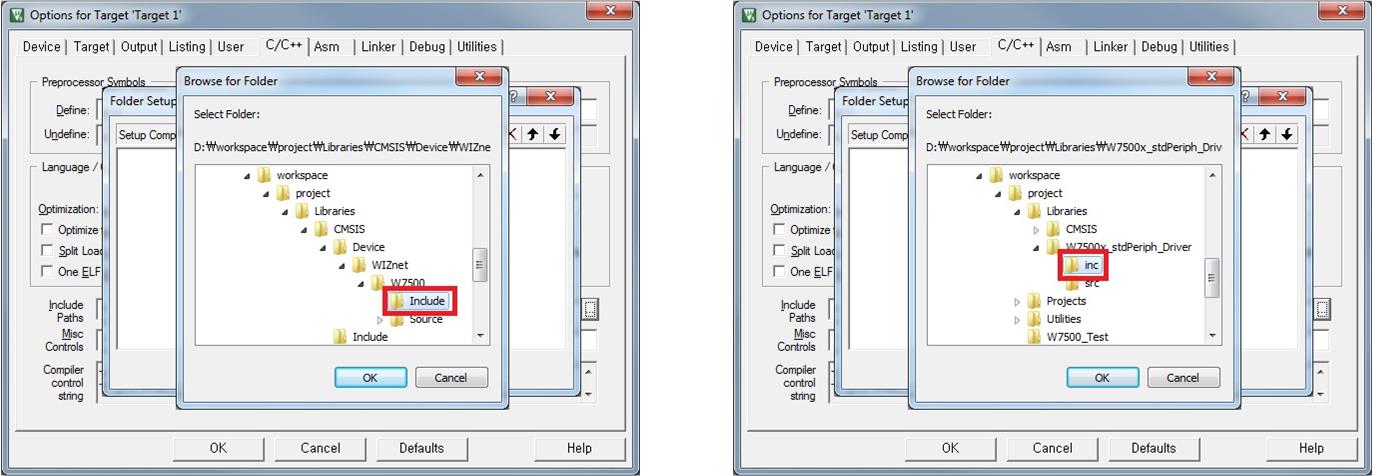
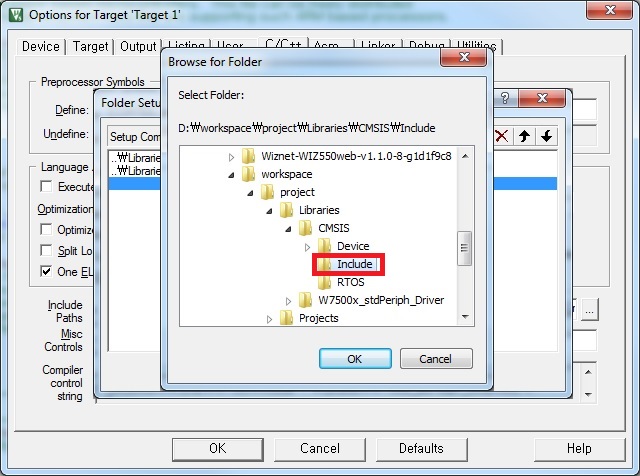
Set 'include path' with
D:\workspace\project\Libraries\CMSIS\Device\WIZnet\W7500\Include D:\workspace\project\Libraries\W7500x_stdPeriph_Driver\inc D:\workspace\project\Libraries\CMSIS\Include

STEP 7. Memory setting!
Click "Options for Target..."
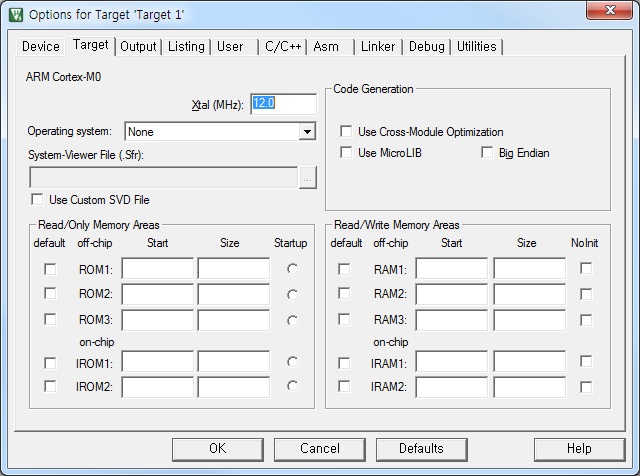

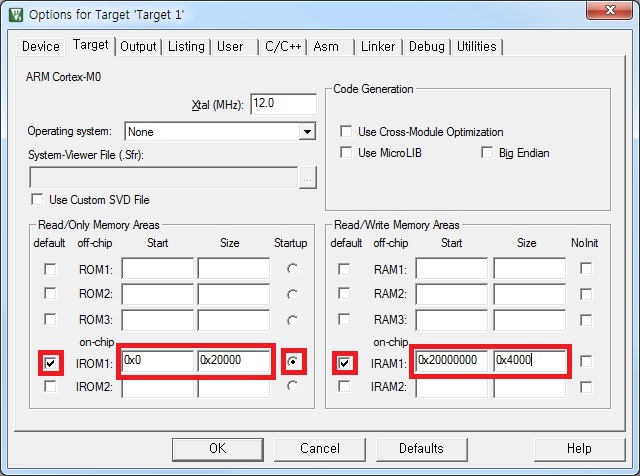
Click "Target" tap and set with the values which are shown in above pictures
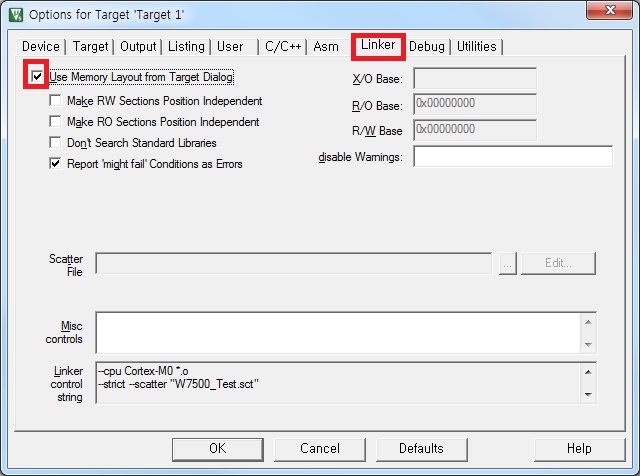
And click "Linker" tap and check [Use Memory Layout from Target Dialog]
STEP 8. Selection of Peripherals to use
Click "Options for Target..."
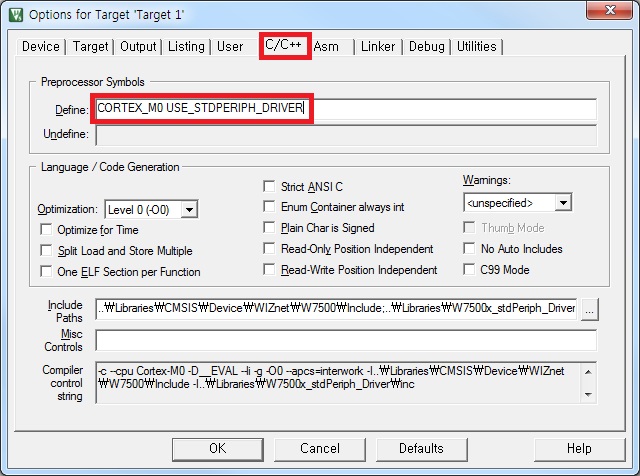
Click "C/C++" tap and add CORTEX_M0 USE_STDPERIPH_DRIVER in "Define" field.
STEP 9. Setting user program to use with the created bin file
Click "Options for Target..."
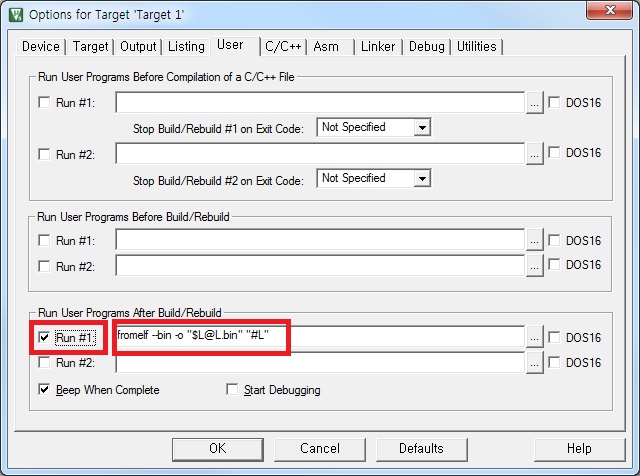
Click "User" tap and check "Run #1" in "Run User Programs After Build/Rebuild" section
and write this command [fromelf --bin -o "$L@L.bin" "#L"] in order CMSIS DAP to use the bin file.
STEP 10. Compile the example
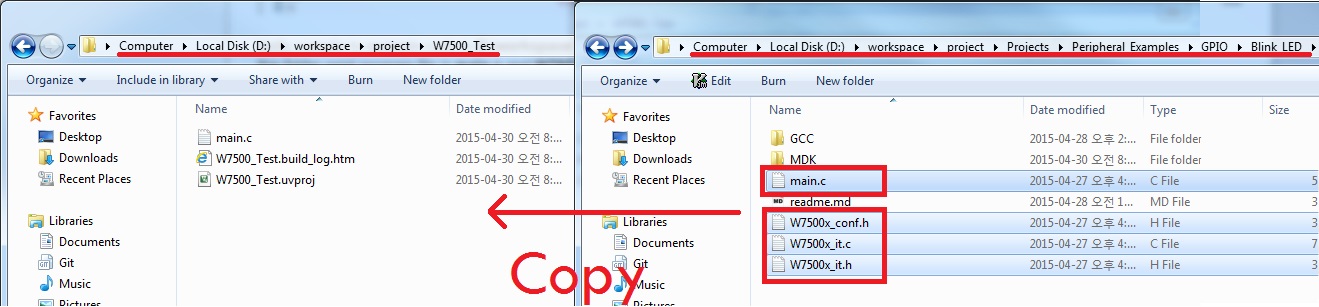
Let's compile the example code in D:\workspace\project\Projects\Peripheral_Examples\GPIO\Blink_LED This fold consists of main.c, W7500x_conf.h, W7500x_it.c and W7500x_it.h and you should copy these four files to D:\workspace\project\W7500_Test(my project folder)
And copy W7500x_gpio.c into W7500_Periphs folder in order to use gpio peripheral
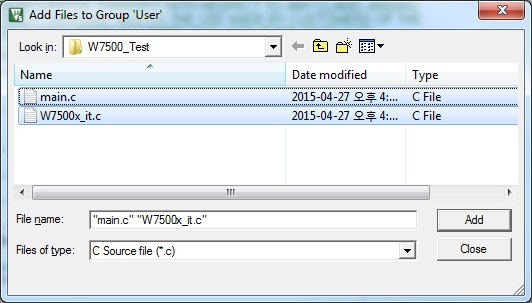
And copy W7500x_it.c into User folder for interrupt handlers
Add "Include Path" for W7500x_conf.h and W7500x_it.h
Click "Options for Target..."
Click "Include Paths" in C\C++ tap, "folder icon and ... icon
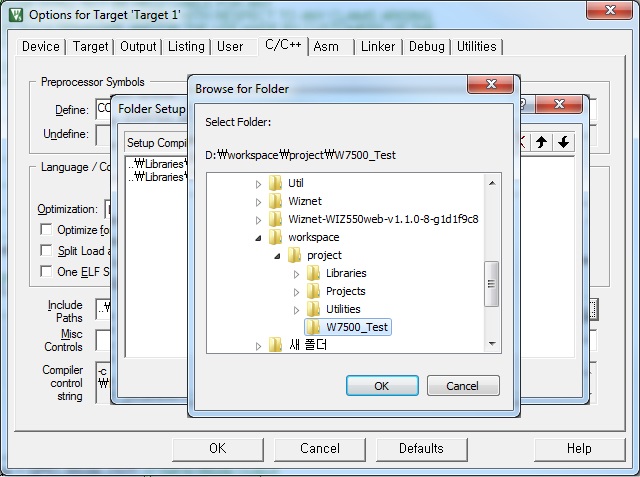
Set "include path" with D:\workspace\project\W7500_Test
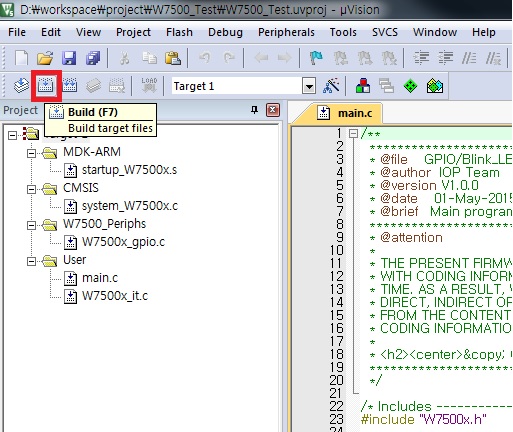
Now compile this project!! by pressing F7 or clicking Build icon
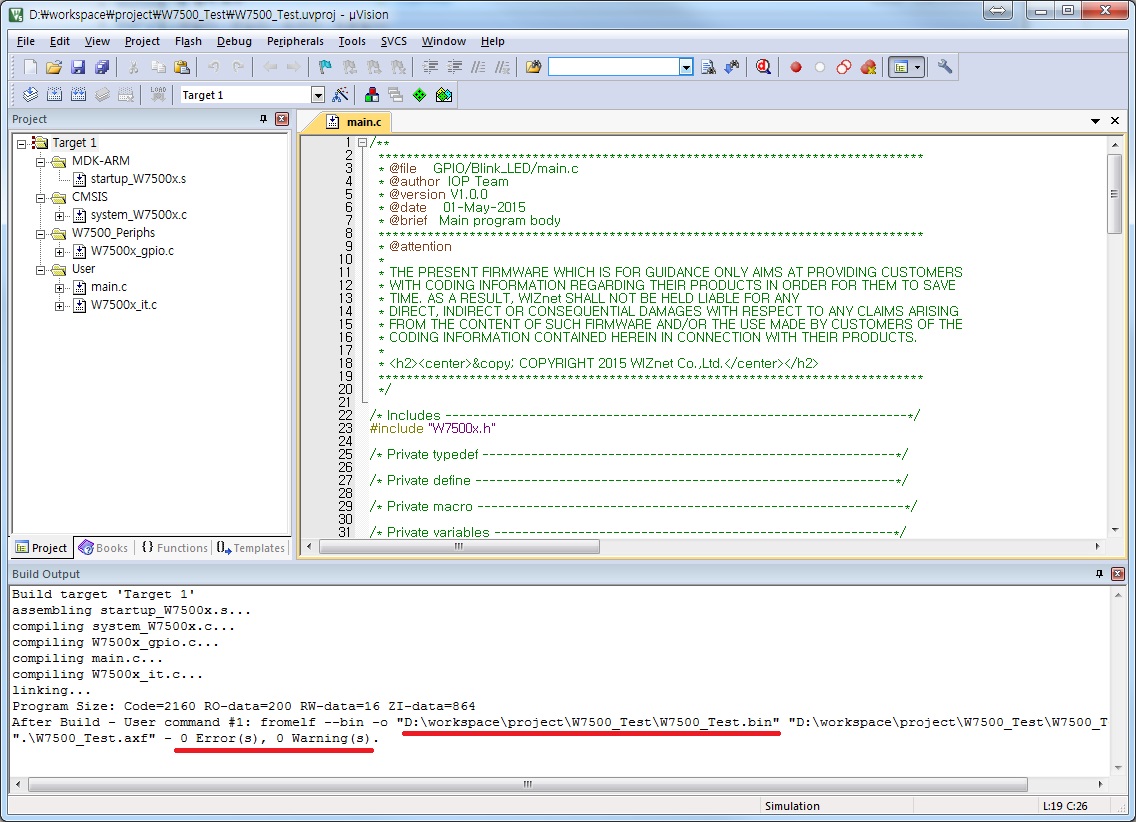
After compile, W7500_Test.bin file will be created. And then WIZwiki-W7500 will upload this bin file on itself via the User program you registered.
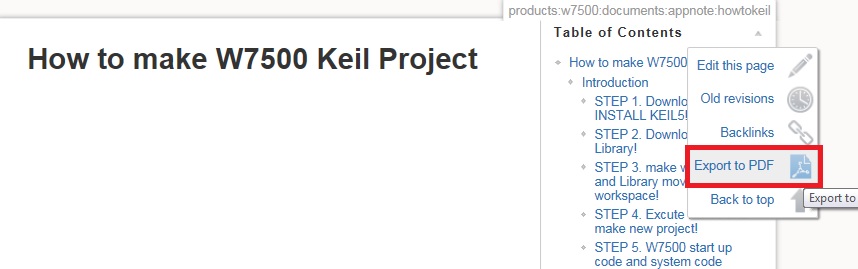
If you want to convert this document to the PDF file? Click to [Export to PDF]
© COPYRIGHT 2015 WIZnet Co.,Ltd.