How to install Keil uVision MDK-Lite version
Download MDK
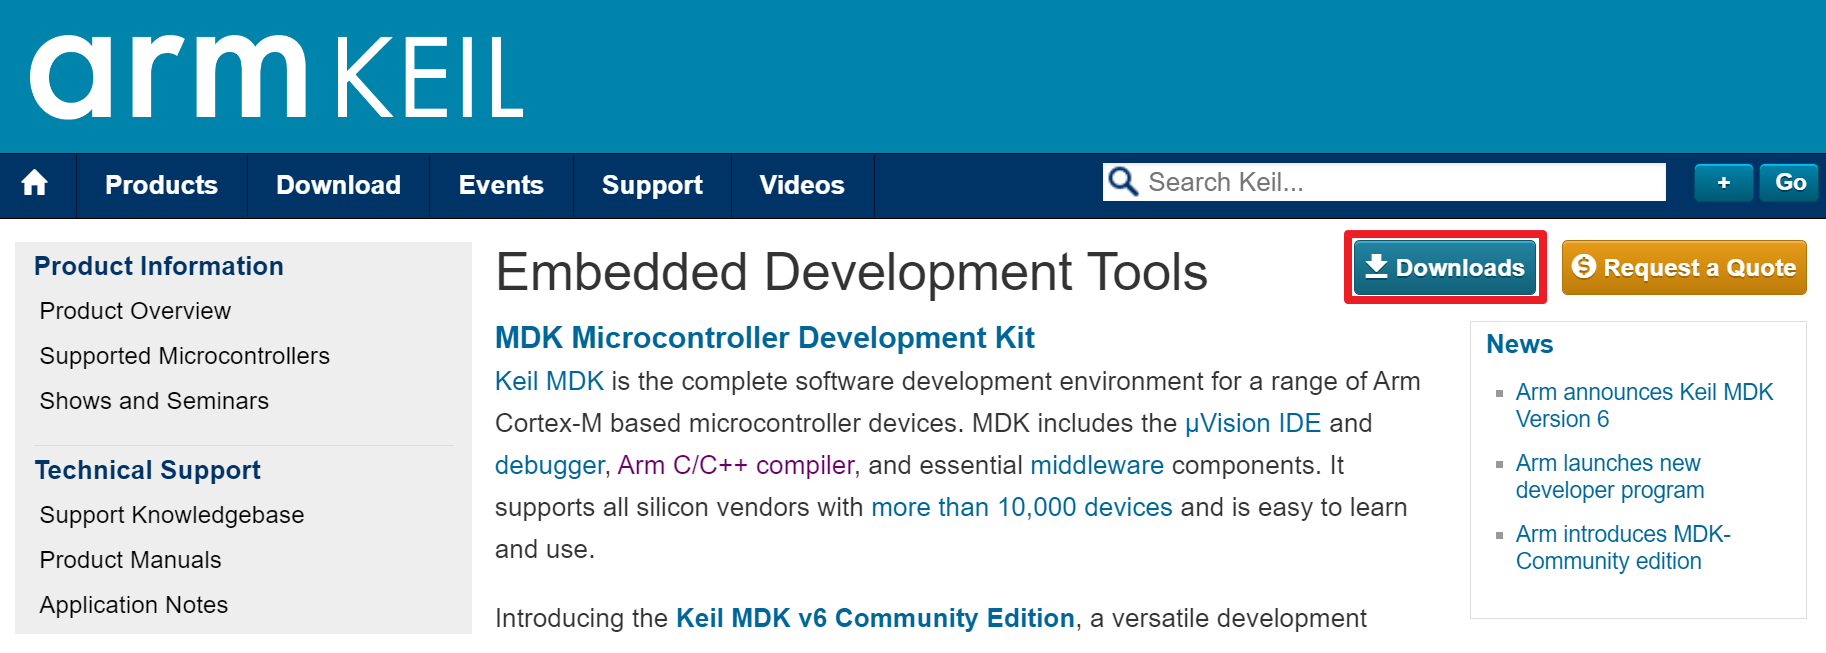
Step 1
Connect to keil.com. And then click the Downloads button on the top.
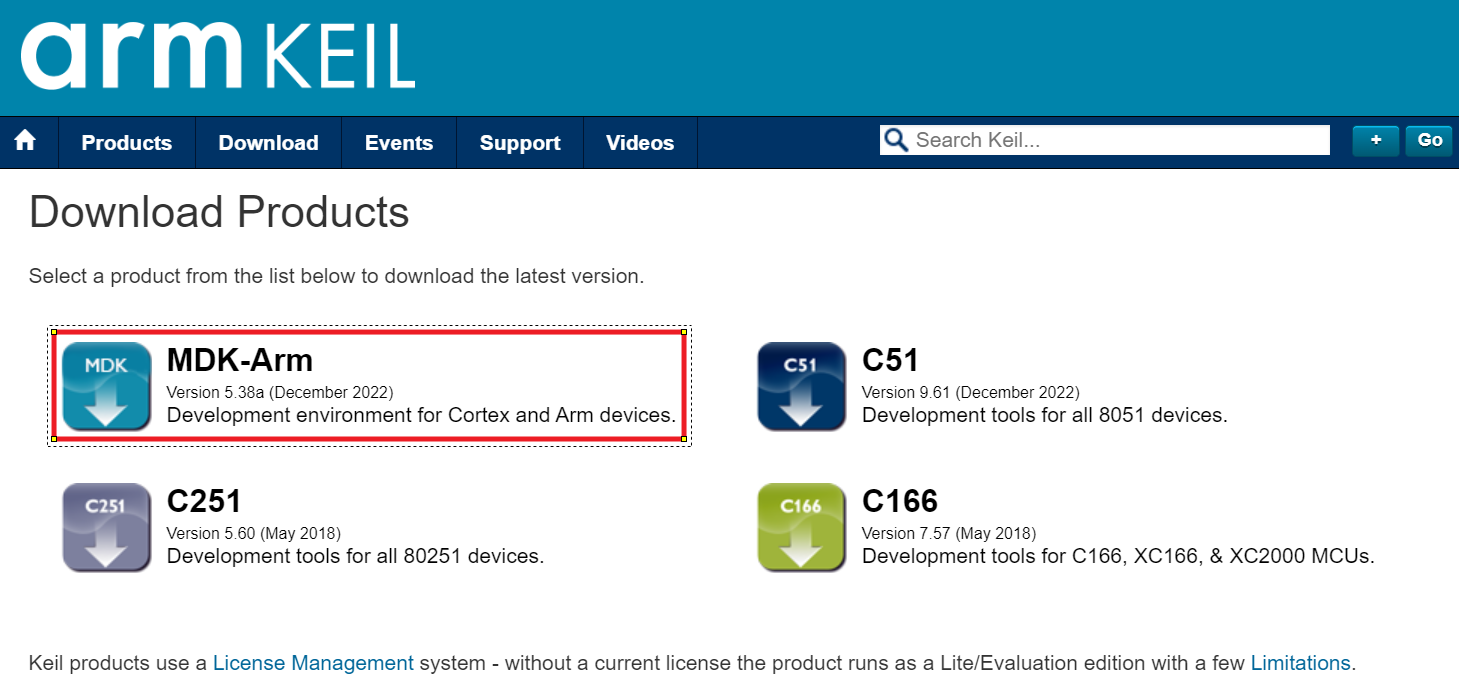
Step 2
Select "MDK-Arm".
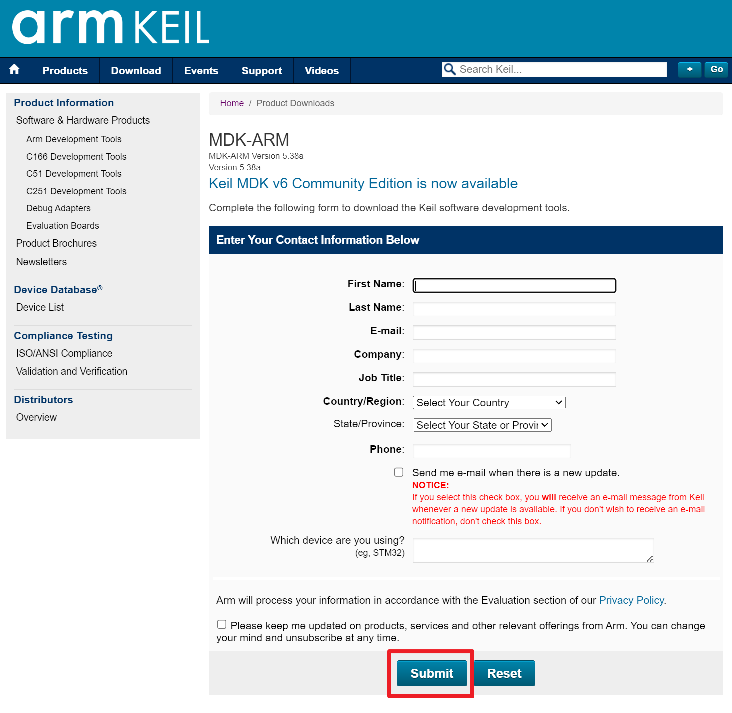
Step 3
Enter personal information and click "Submit".
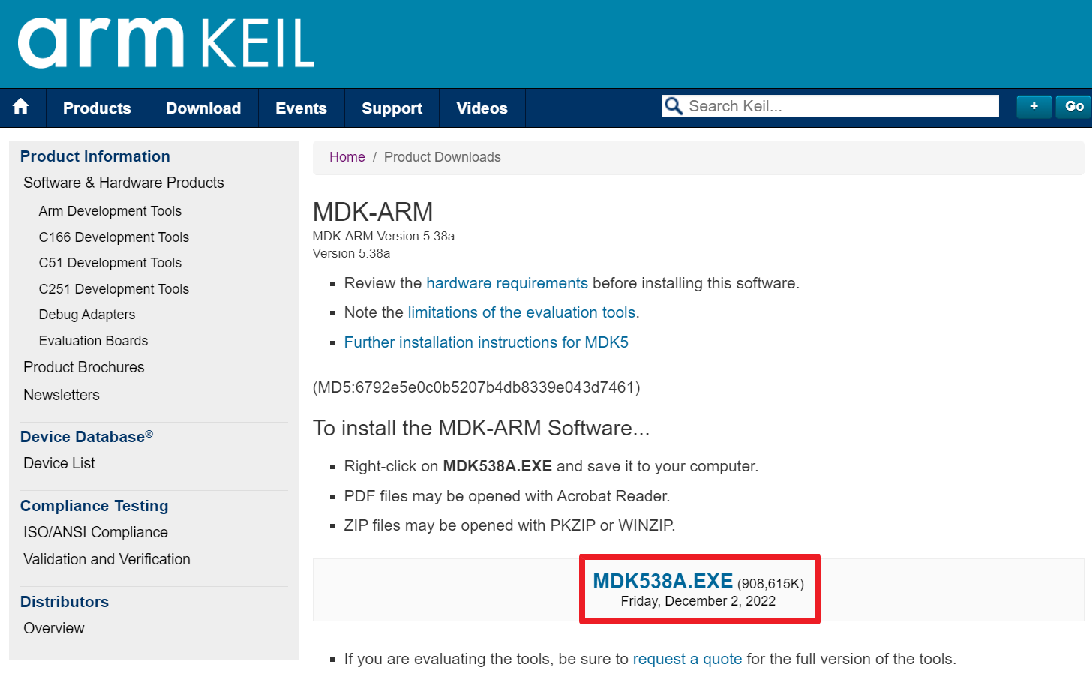
Step 4
Click on the download file below.
Step 5
Once the download of the installation file is complete, run the installation file.

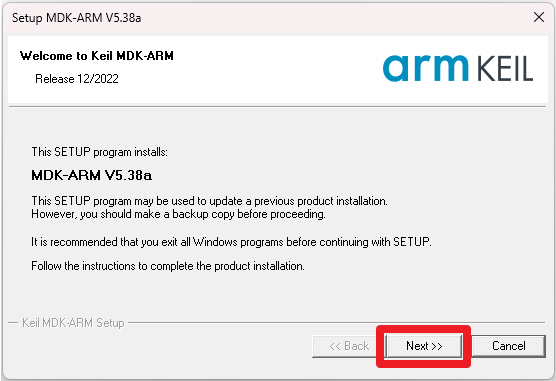
Step 6
Click on "Next".
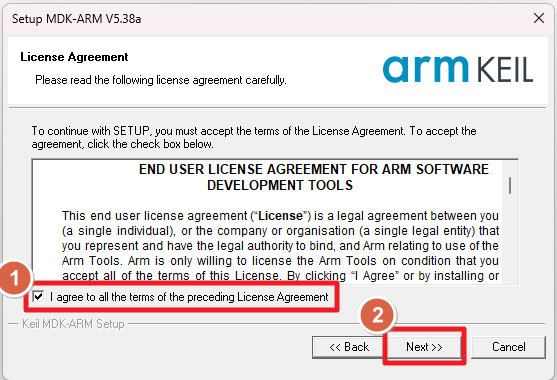
Step 7
Agree and click "Next".
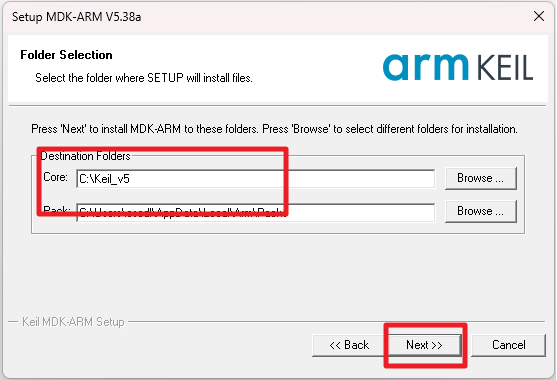
Step 8
Check the path and click "Next".
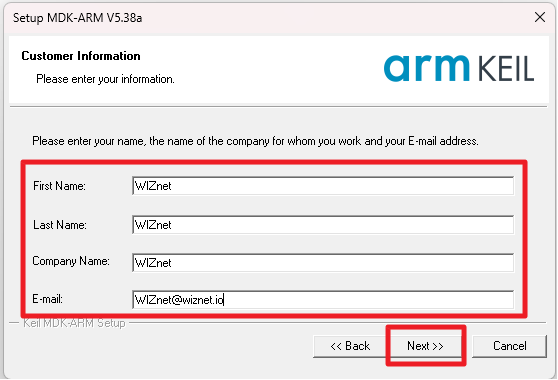
Step 9
Enter personal information and click "Next".
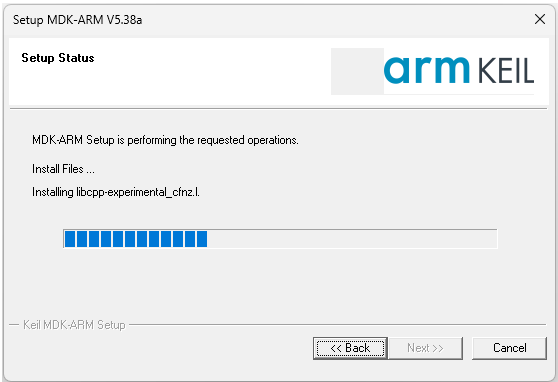
Step 10
Wait for the download to complete.
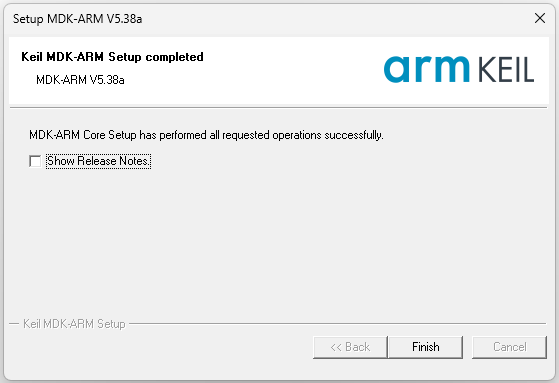
Step 11
Press "Finish" to complete the download and wait.
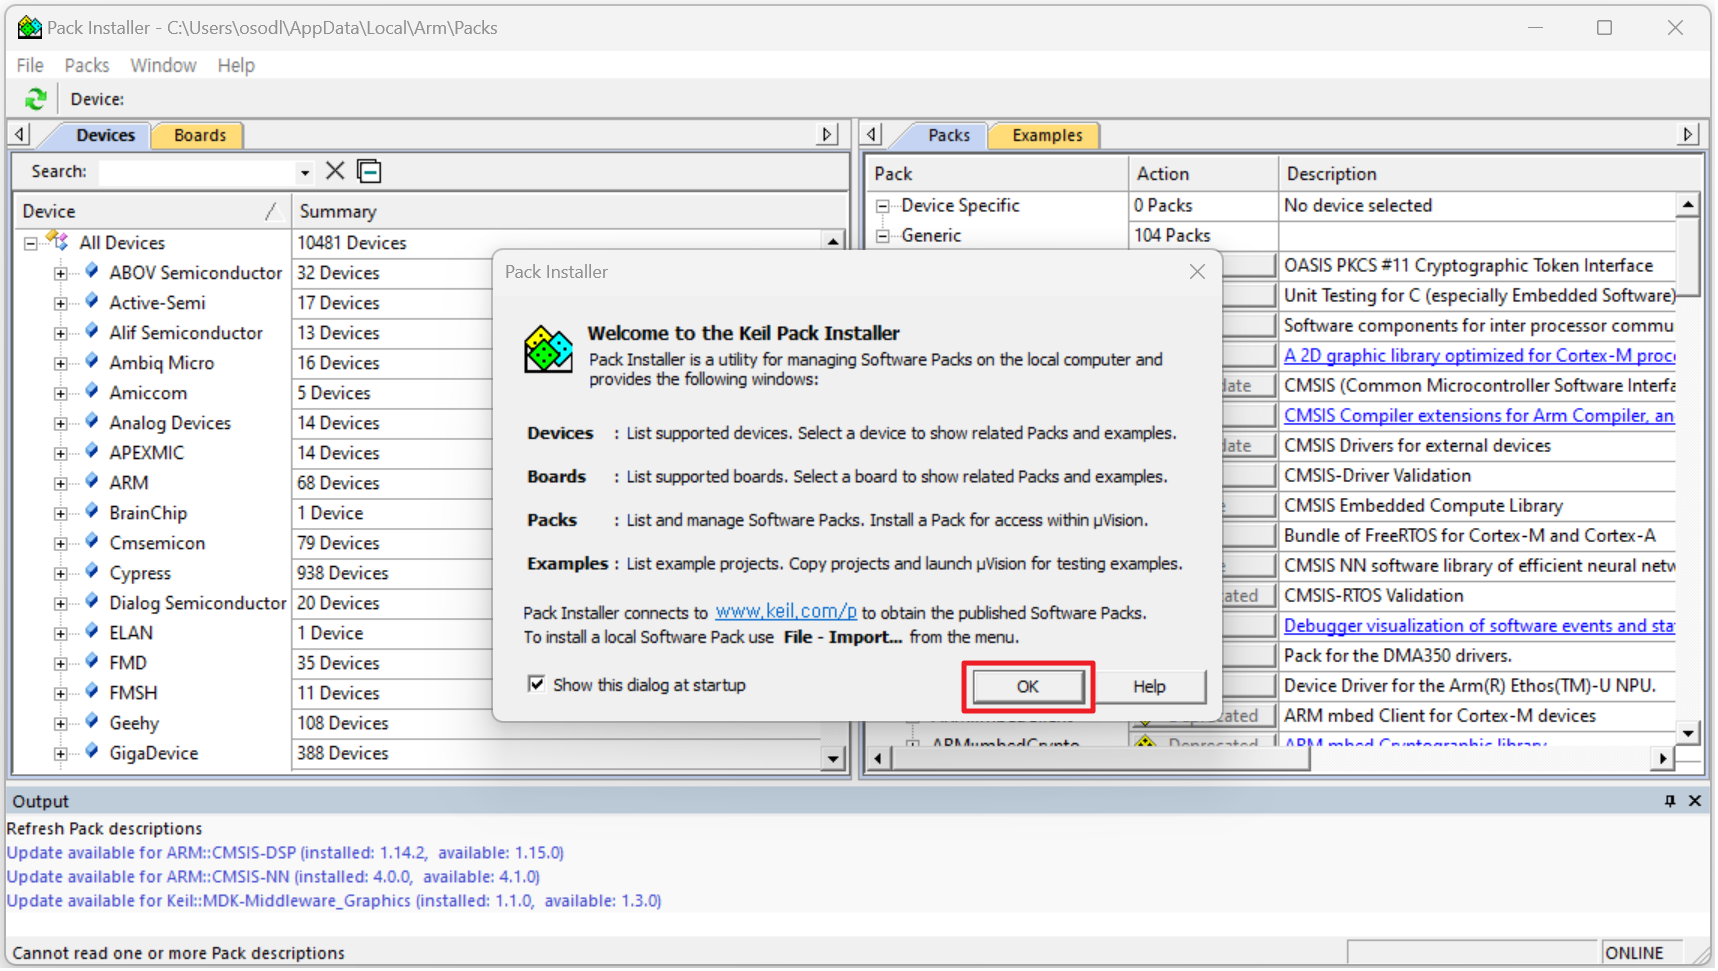
Step 12
After the download is complete, the "Pack Installer" window will appear. Click "OK".
Install MDK Version 5 - Legacy Support
After installation is completed, you need to install the MDK version 5 - legacy support because MDK-Lite version does not support W7500 example project devices.
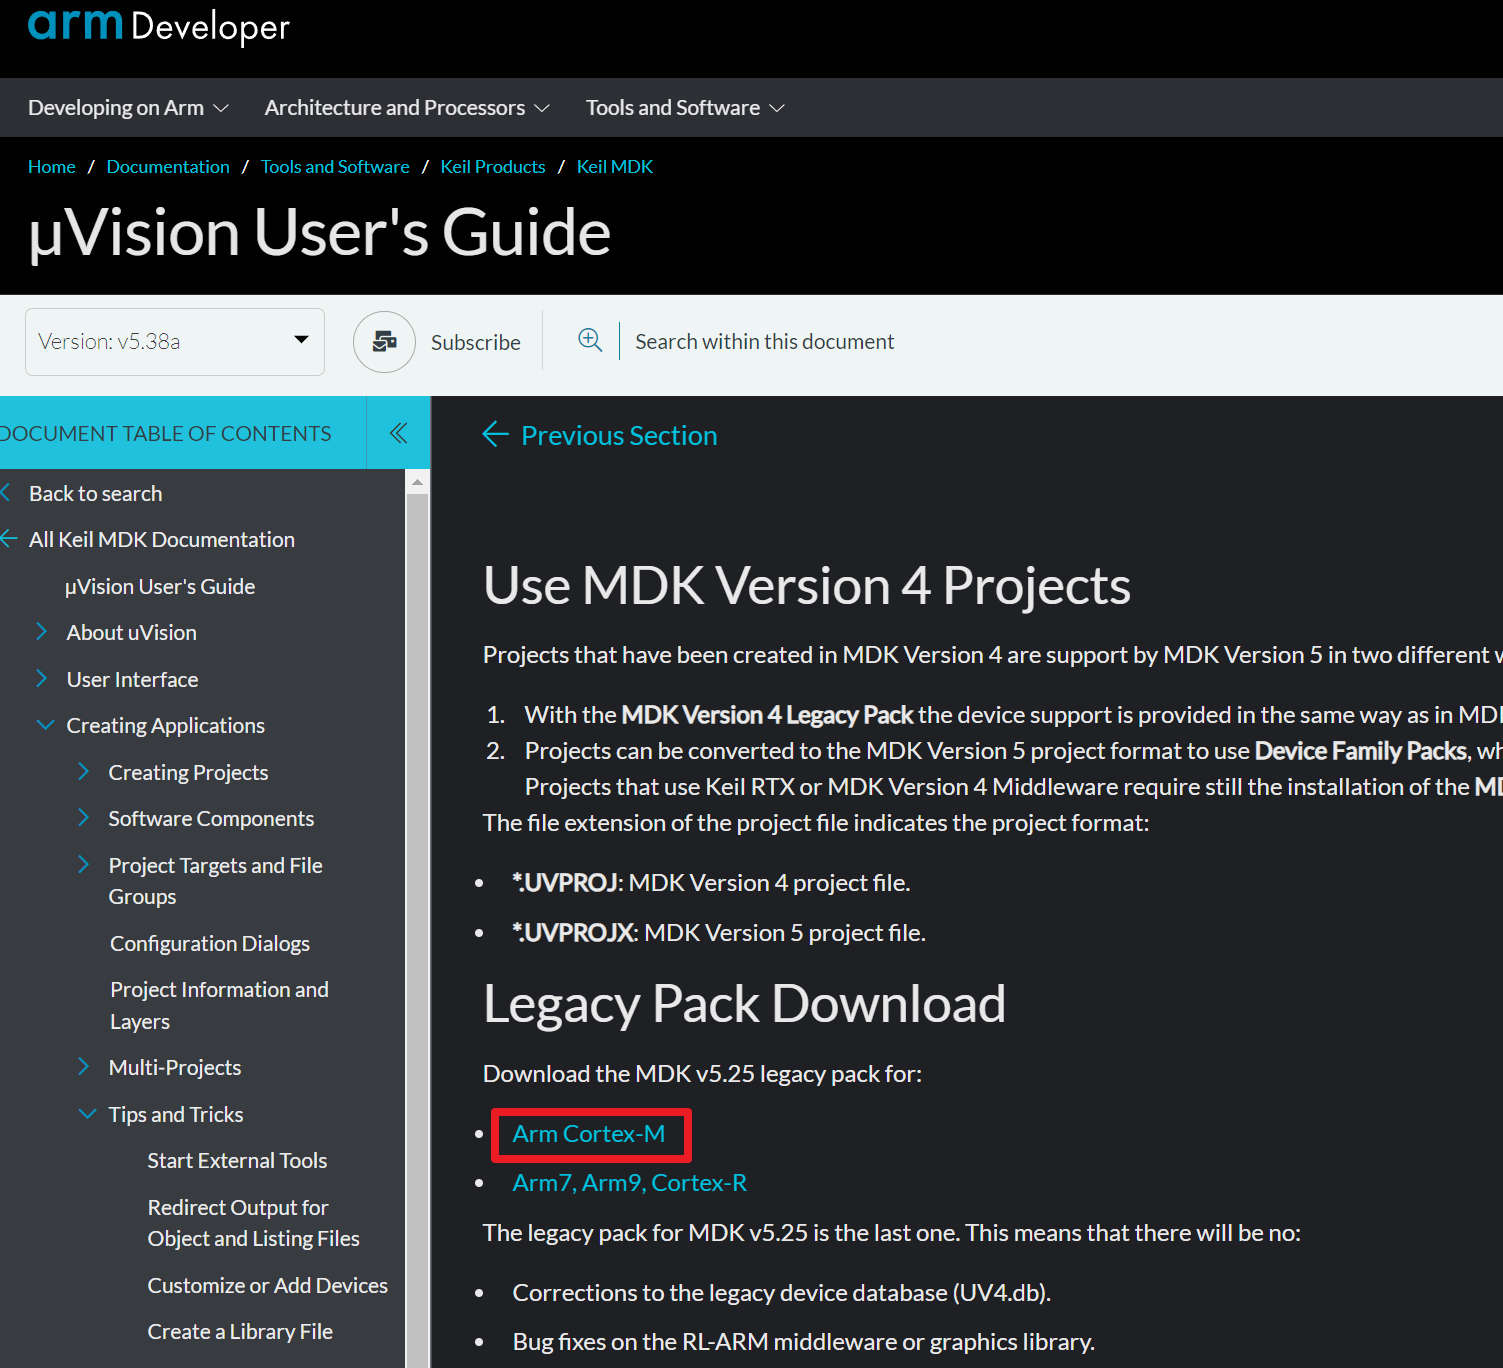
Step 1
Click this Download link button.
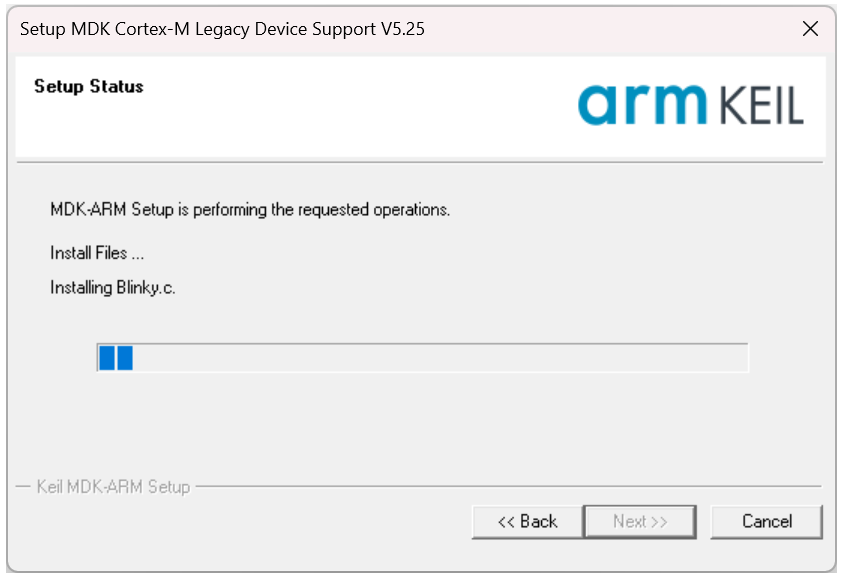
Step 2
After downloading is completed, double click the MDKCM525.EXE file nad then setup process will be started.
Install Arm Compiler 5.06
If your Keil 5 version is 5.37 or newer, be sure to follow the steps below.
Finally, if you want to proceed with the build on uVision MDK-Lite version 5.37 or later, you must install the compiler appropriately in the path. If you have uVision MDK-Lite version 5.37 or later, follow the compiler download process below.
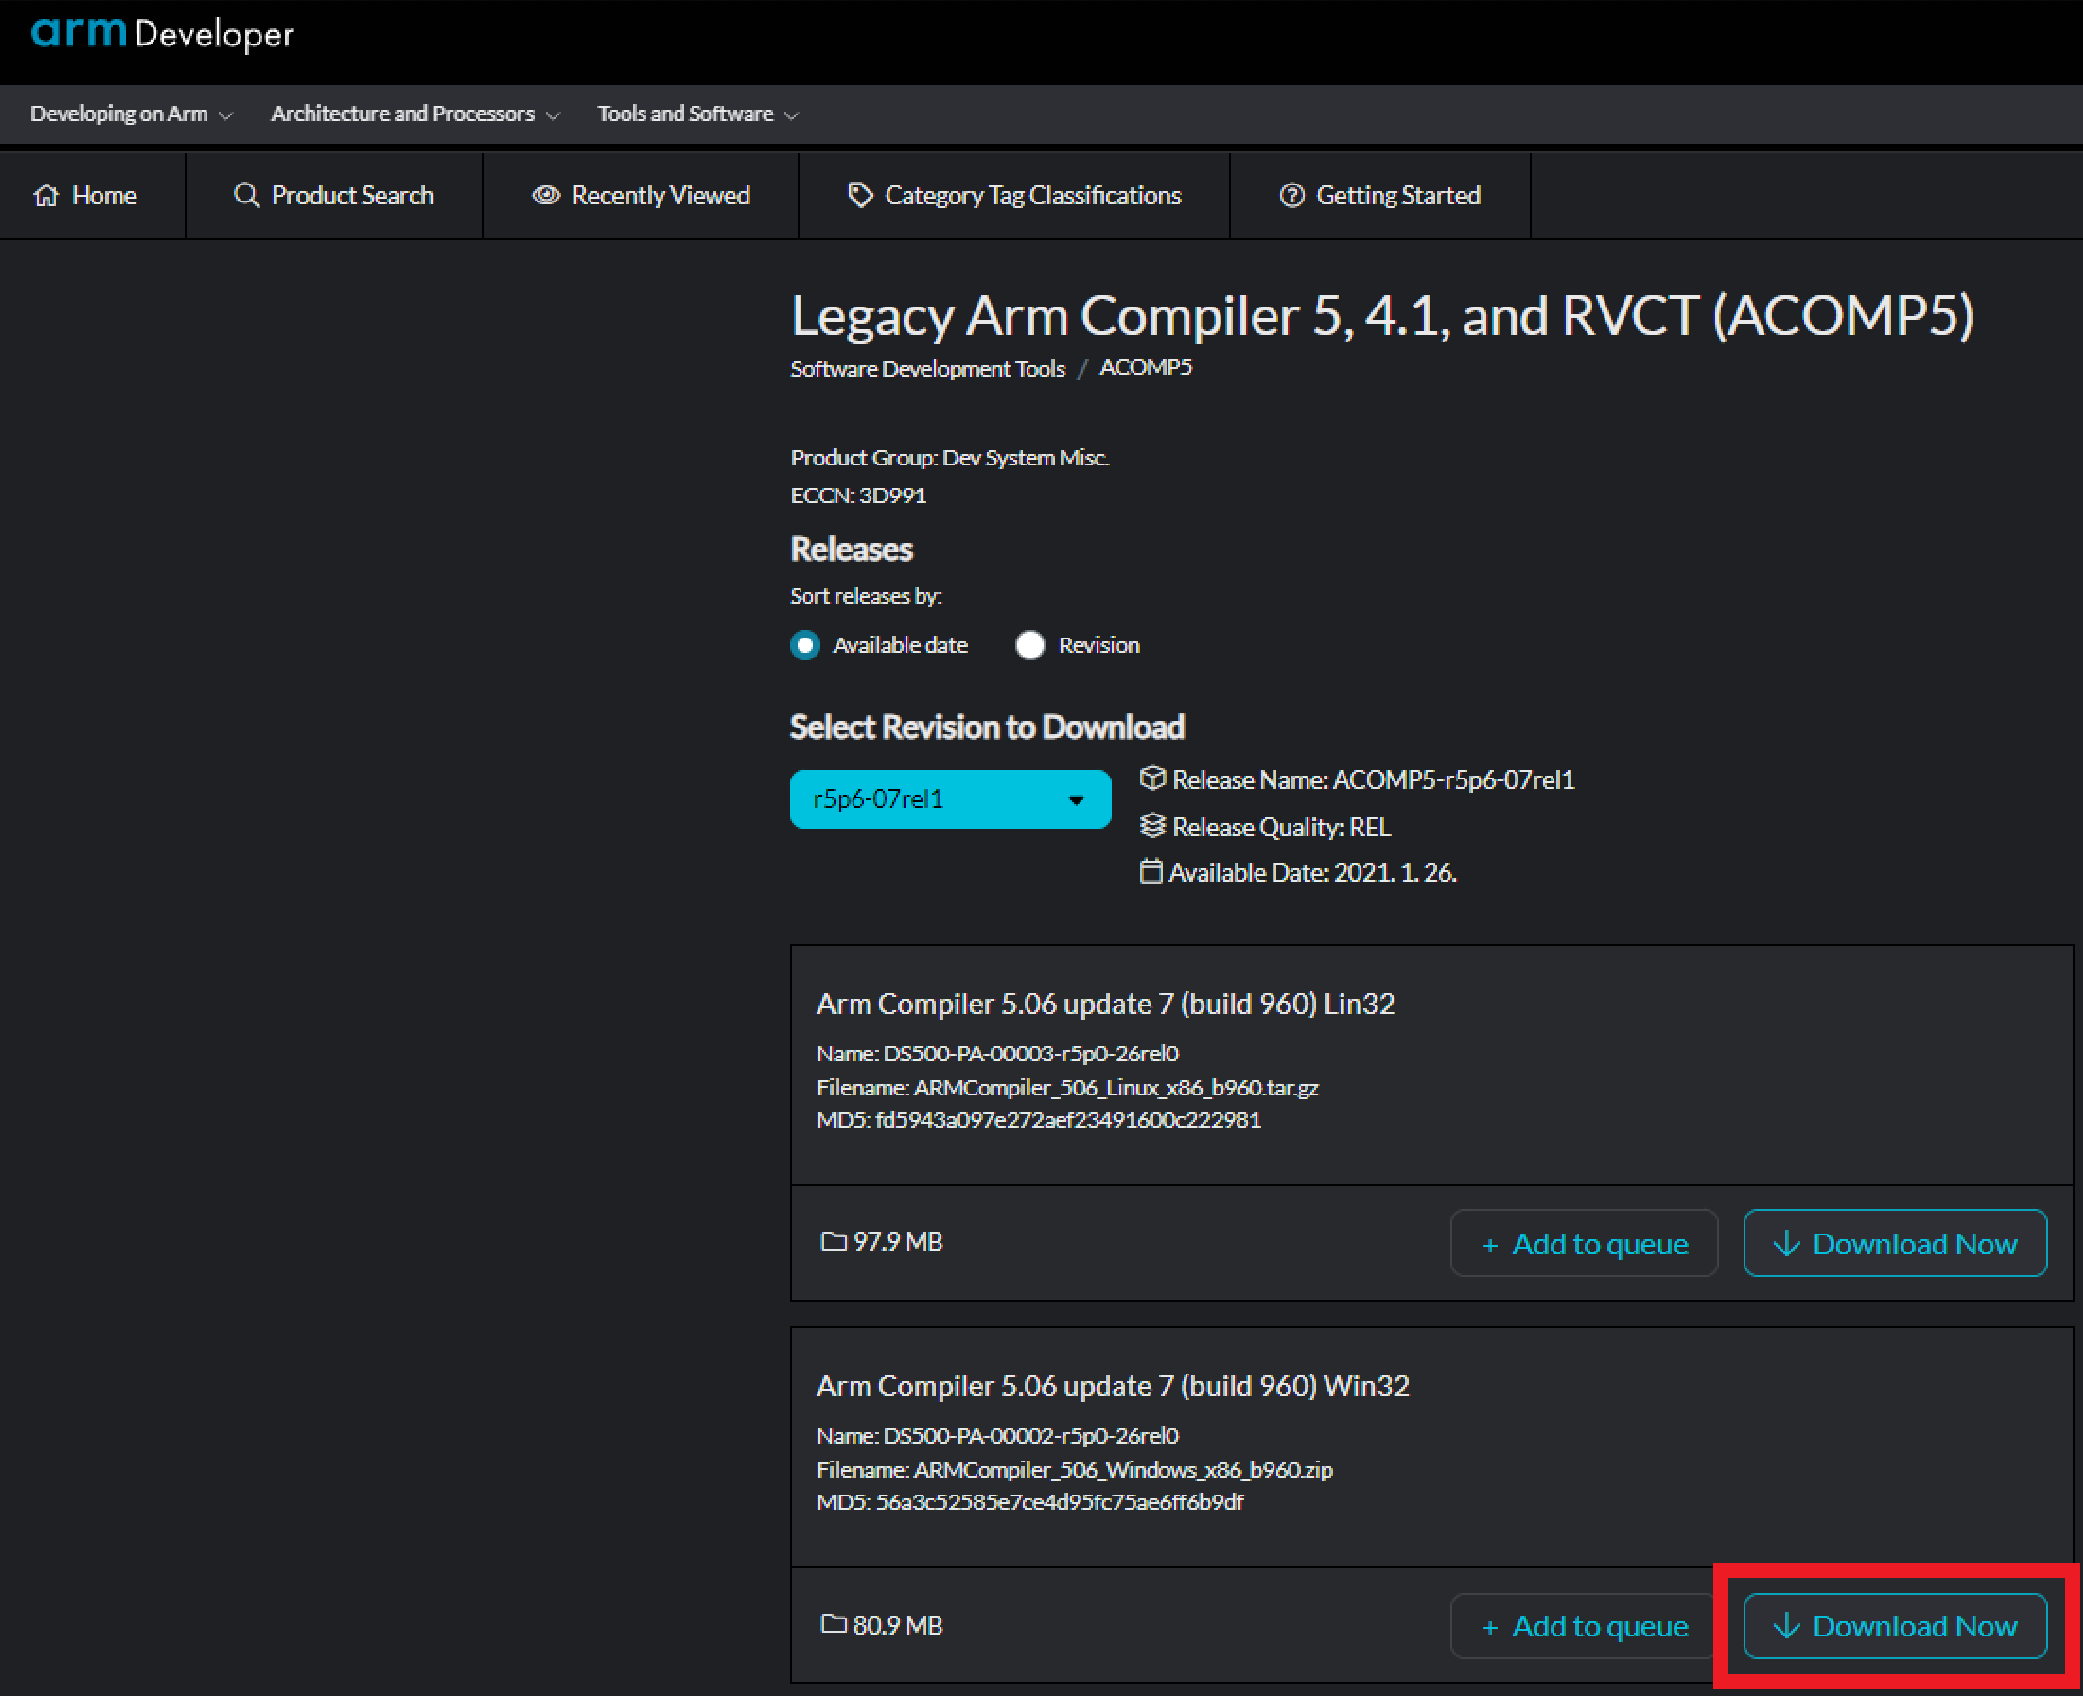
Step 1
Pressing this Download link button will take you to the screen similar to the one in the picture below. Click on the "Download Now" button to download the file. Since a login is required, log in before proceeding.
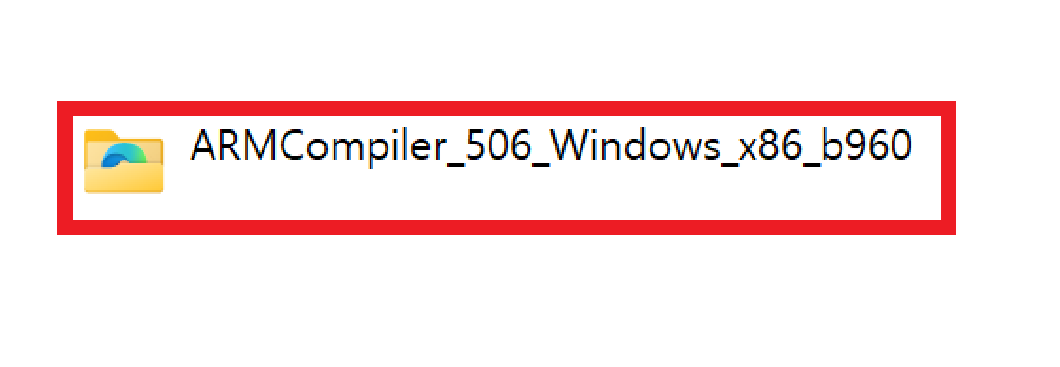
Step 2
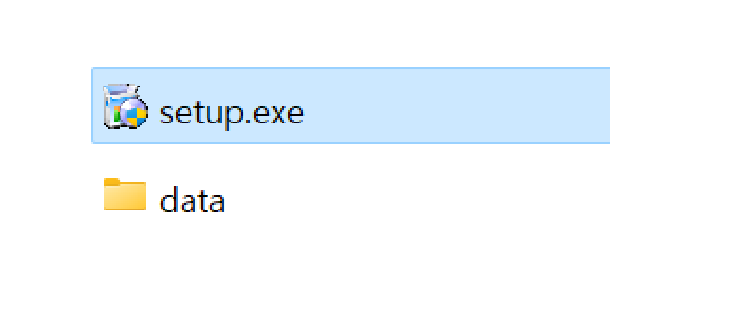
After extracting the downloaded file, navigate to the "install" directory within the path of the folder as shown in the picture below.
Step 3
Run the "setup.exe" file inside the directory.
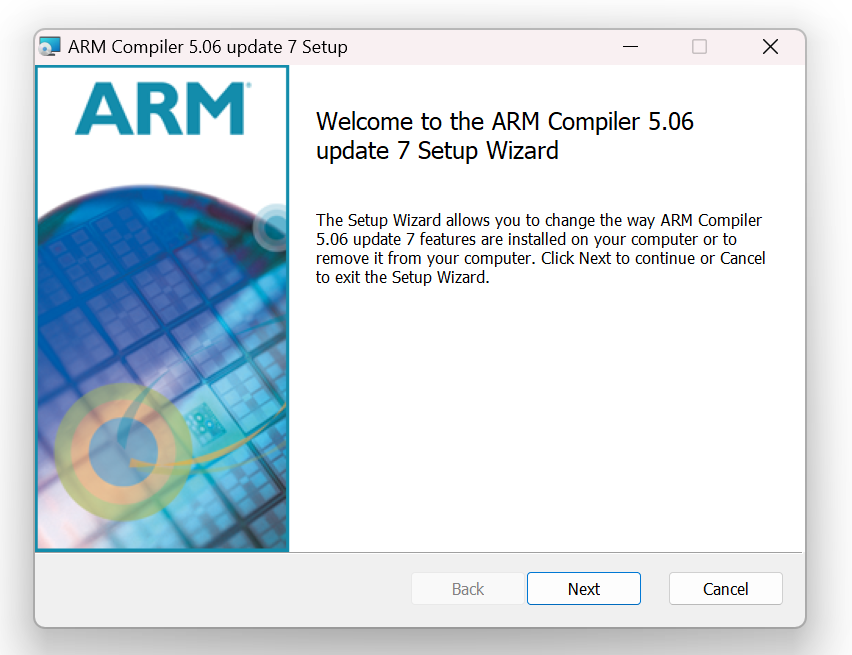
Step 4
Click "Next".
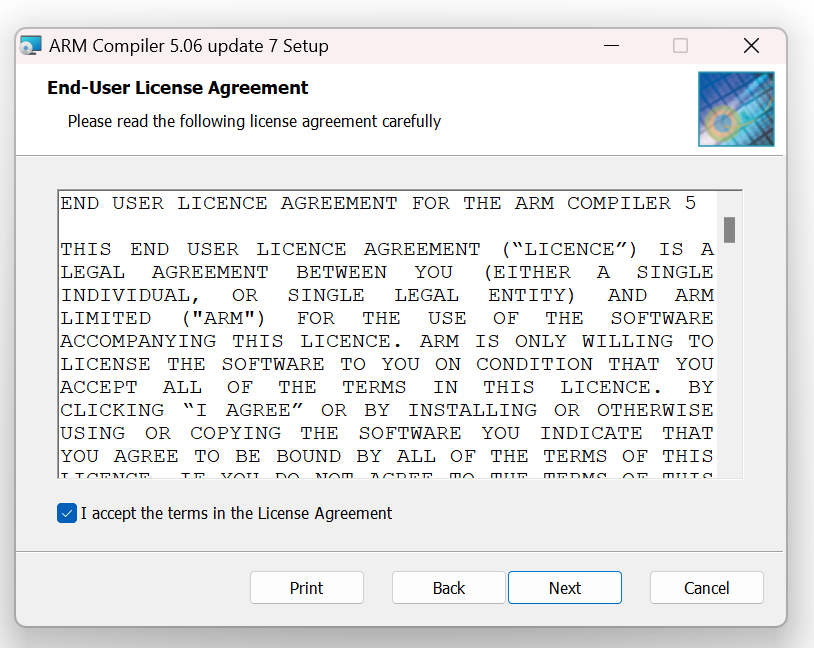
Step 5
Click the checkbox for "I accept the terms in the License Agreement" and then click "Next".
Step 6
Click the "Browse..." button.
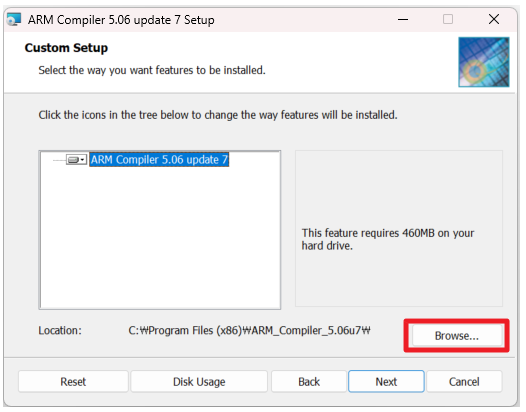
Step 7
Locate the directory where "Keil_v5" is installed on your PC, then create a folder within "... \ keil_v5 \ ARM" directory. Enter the name of the folder as "ARM_Compiler_5.06u7" and set the path to "... \ keil_v5 \ ARM \ ARM_Compiler_5.06u7". Afterward, click "OK"
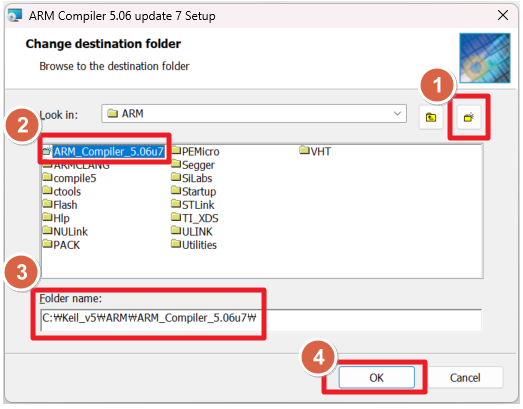
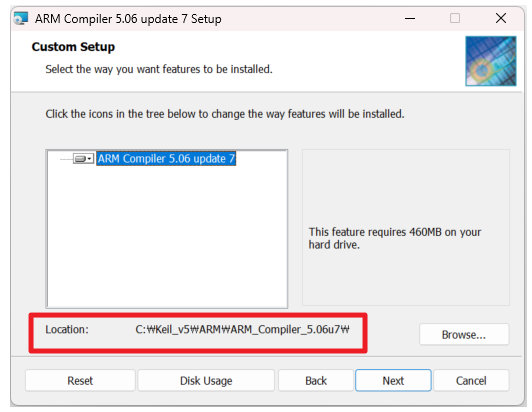
Step 8
Confirm the following path and click "Next".
Step 9
Click "Next".

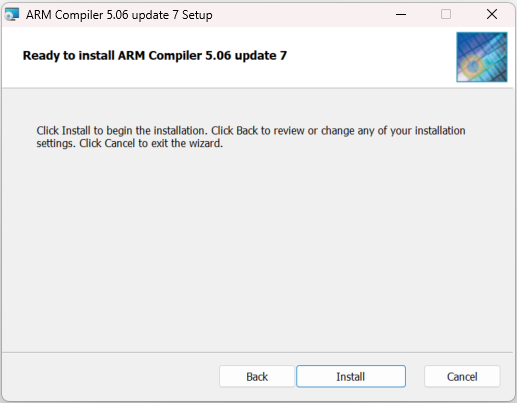
Step 10
Click "Install".
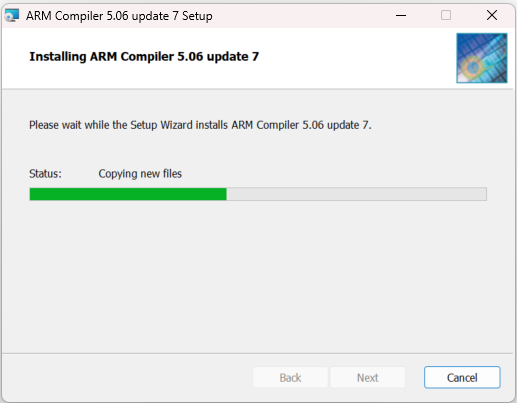
Step 11
Wait for the download to complete.
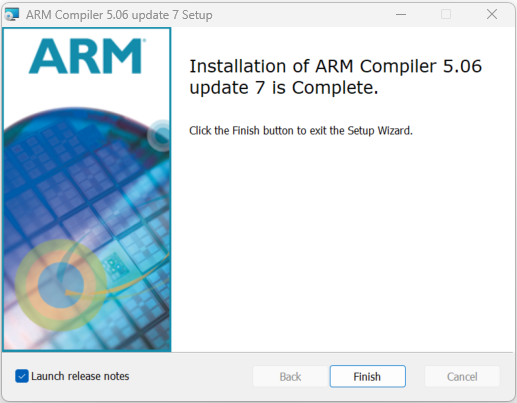
Step 12
Click the "Finish" button to complete the download.