Make New W5100S-EVB Projects using TrueSTUDIO
This page introduces how to make the project for W5100S-EVB with different IDEs such as STMicroelectronics TrueSTUDIO.
Make a new W5100S-EVB project with TrueSTUDIO IDE
0. Download and install Dev. enviroment & compiler
TrueSTUDIO provides a free Dev. Environment incl. It include IDE and Ccompiler.
Download the IDE + compiler here:
https://atollic.com/
1. Select 'New project' and project type
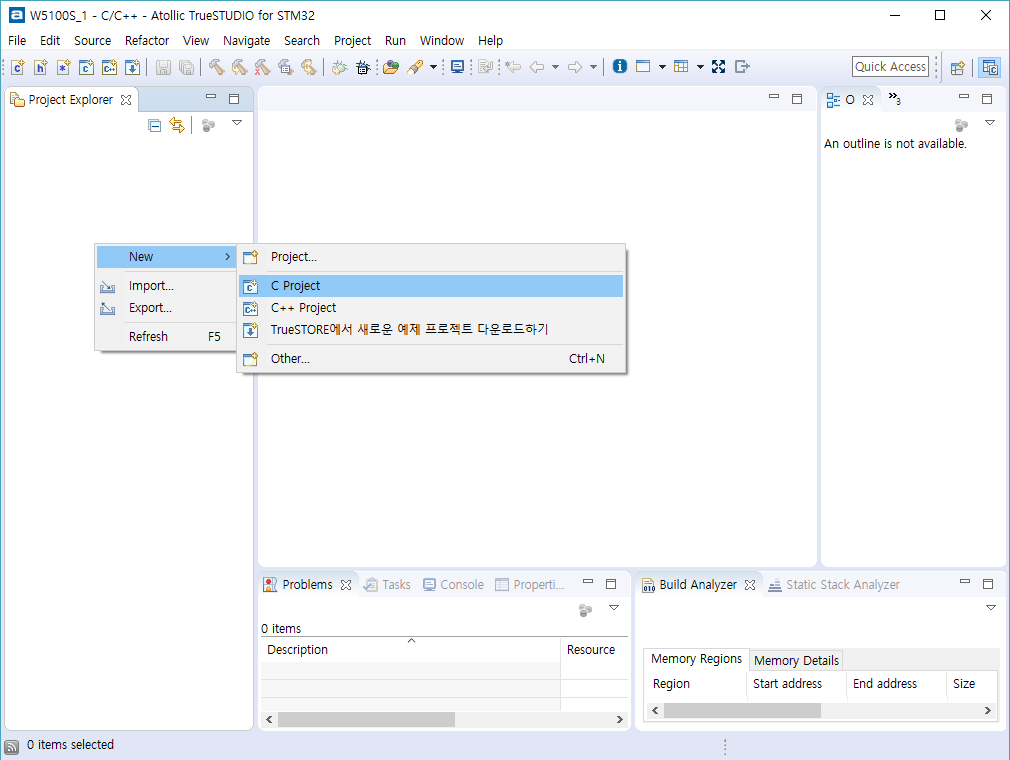
1. Execute TrueSTUDIO IDE
- Mouse right click in left side bar -> New -> select C Project
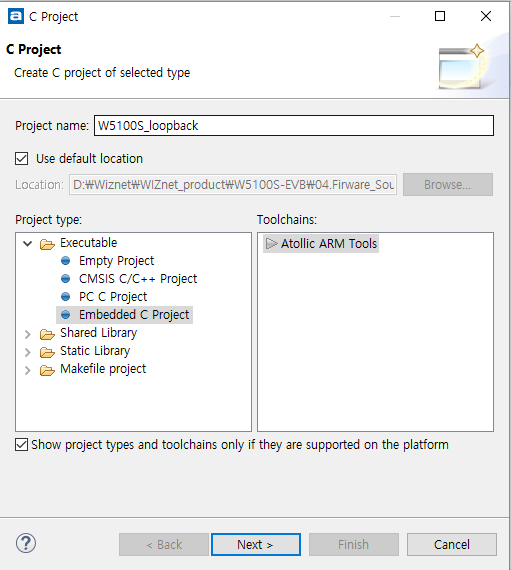
2. Select Embedded C Project
- Write to the project name and click to 'next'
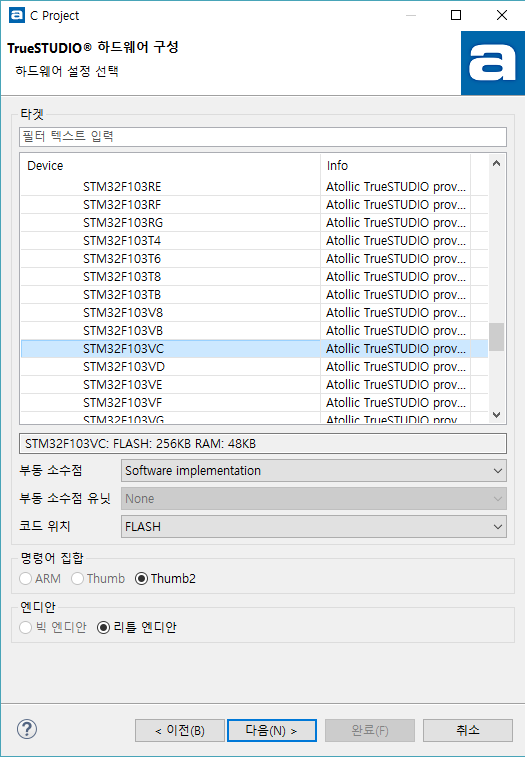
3. Select to STM32F1 -> MCUs -> STM32F103VC and click to 'next'
* Select Thumb-2 and little Endian
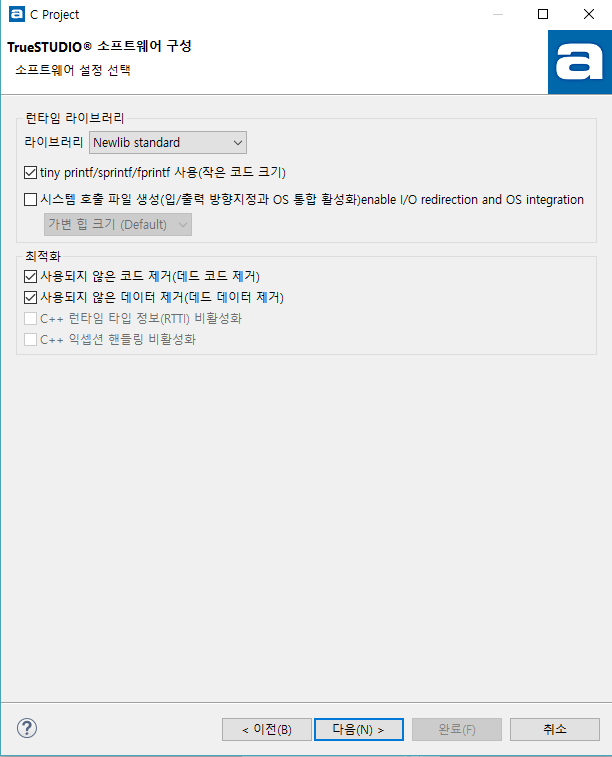
4. Select Newlib standard and click to 'next'
5. Select ST-LINK Debug probe and click to 'next'
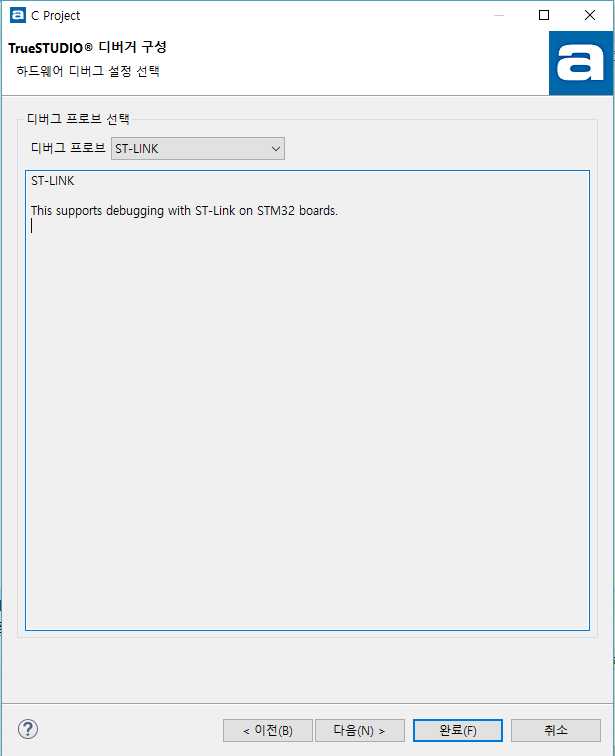
6. Click to Finish

2. Import libraries to TrueSTUDIO IDE workspace
You should import provided library projects to your new project for easy to configure. This is the required library components for new projects as follows.
- Folder list
- ioLibrary_Driver
- CMSIS
- CMSIS_boot
- stm_lib
- syscalls
- File list
- main.c
- HALInit.c
- HALInit.h
- msgq.c
- msgq.h
- serialCommand.c
- serialCommand.h
- W5100SRelFunctions.c
- W5100SRelFunctions.h
Download the libraries and projects for W5100S-EVB from
![]() W5100S-EVB GitHub
repository. After downloading,
import the required project libraries to your workspace.
W5100S-EVB GitHub
repository. After downloading,
import the required project libraries to your workspace.
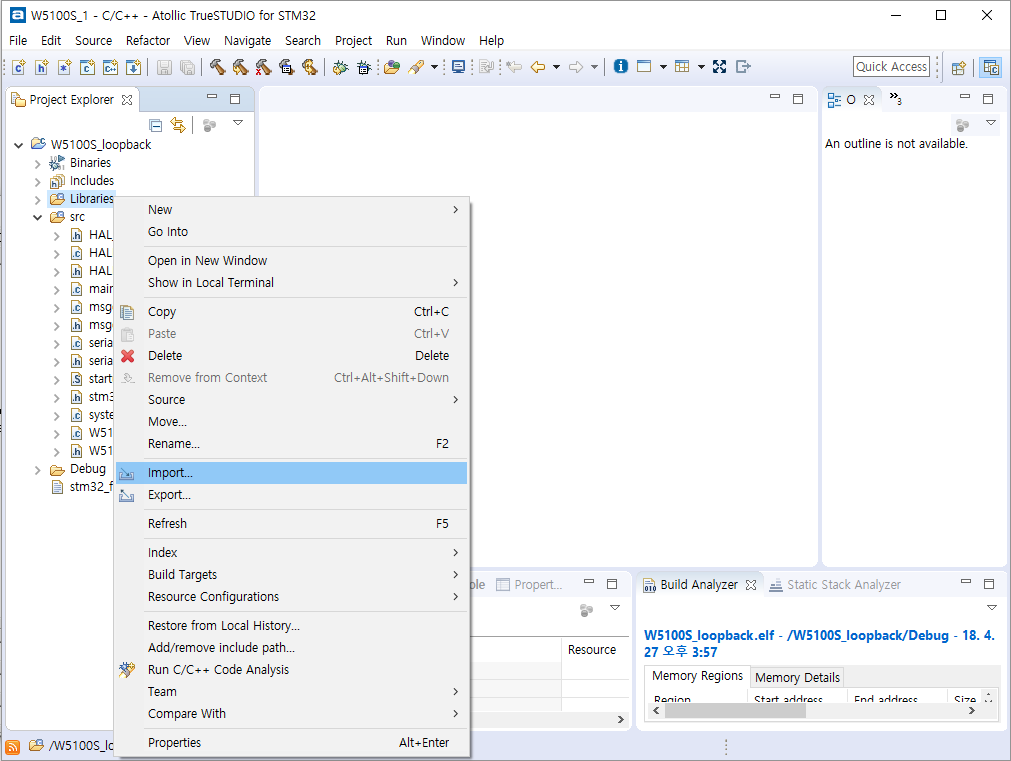
1. Delete "main.c", "tiny_printf.c", "stm32f1xx_it.c",
"stm32f1xx_it.h" these files
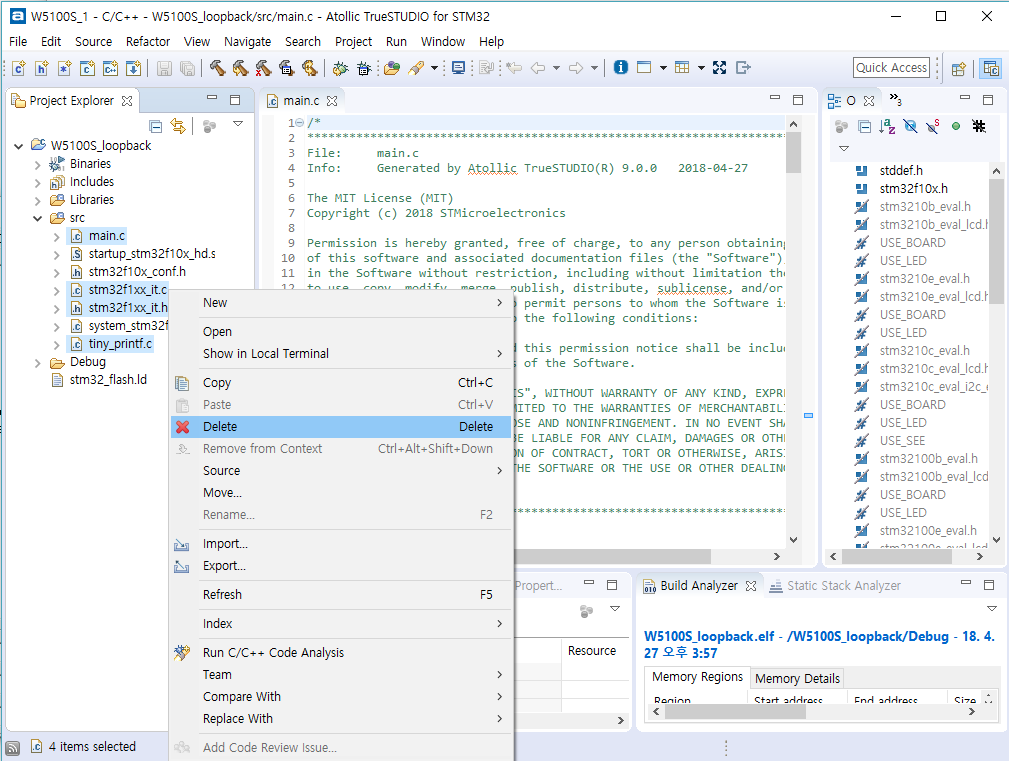
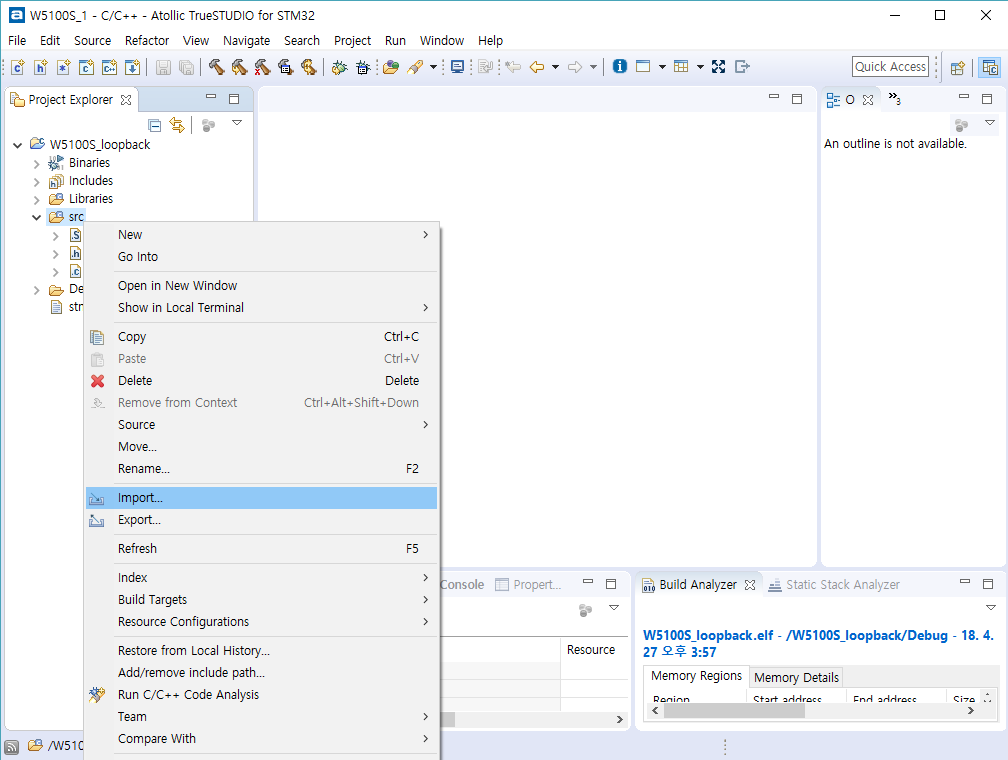
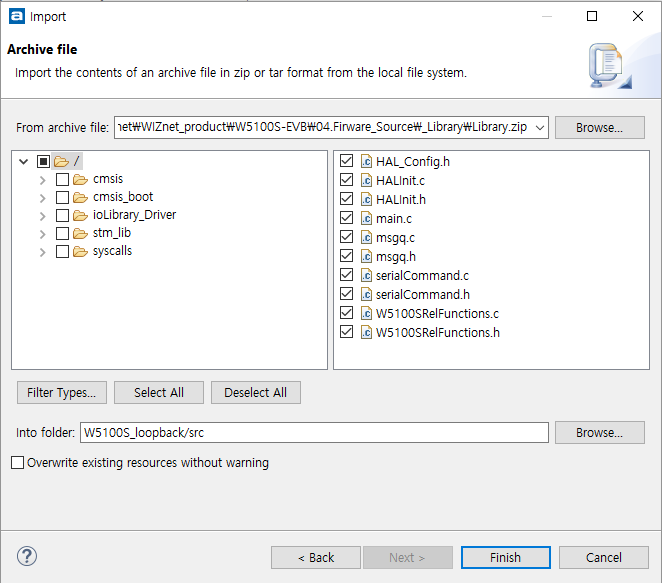
2. Src folder mouse right click -> click to Import
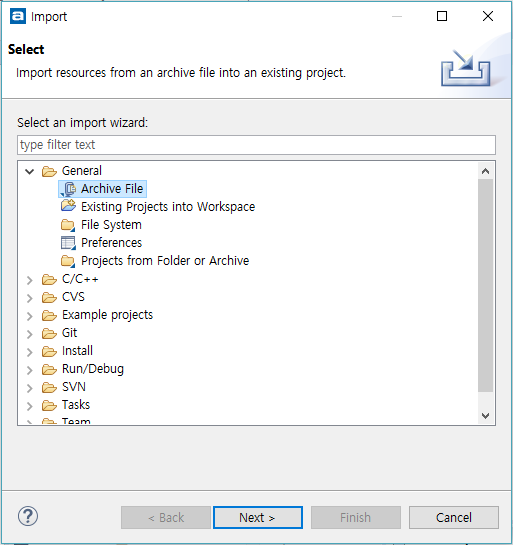
3. Select General -> Archive File
4. Select Library from Github repository
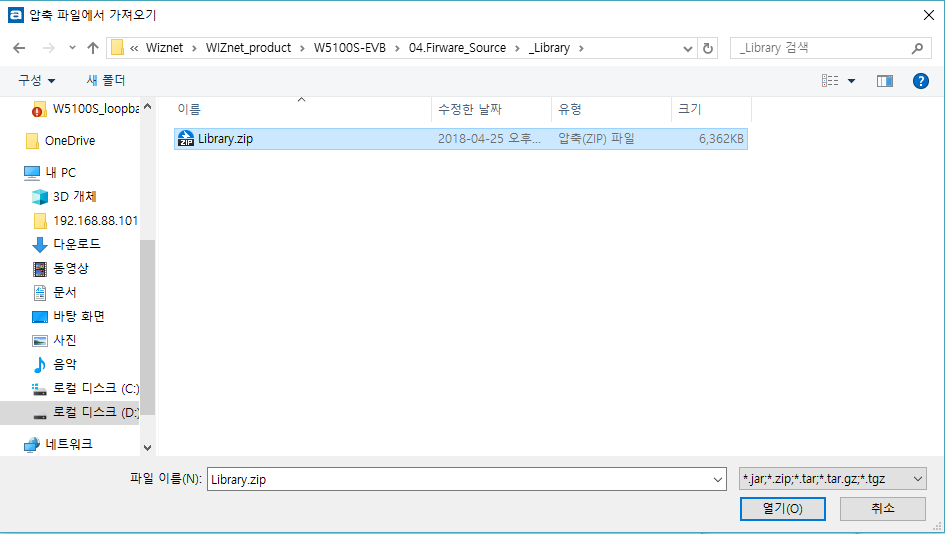
5. check to import files as below picture
* Until now we loaded library file lists.
- Next, we will load folder lists.
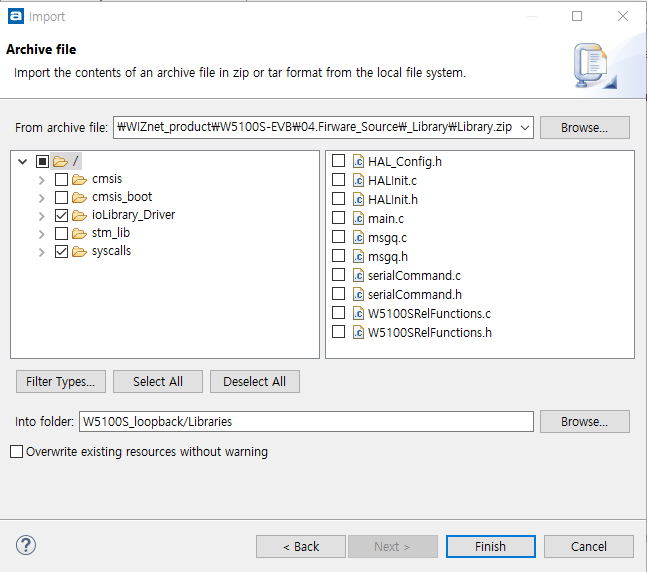
6. Mouse right click to Libraries folder -> click to Import
7. Select General -> Archive File
8. Select Library from Github repository
9. Check to import folders as below picture
- Until now we loaded all files
- It is done to import files
3. Set to Properties
Next step we will set to Build & General setting in properties. This step is necessary.
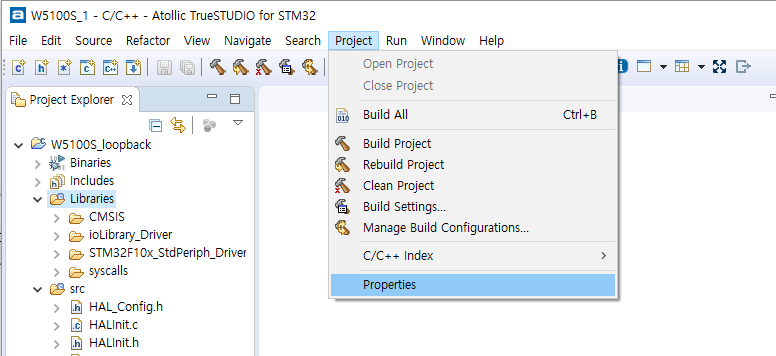
1. Execute properties in the menu (click project -> properties)
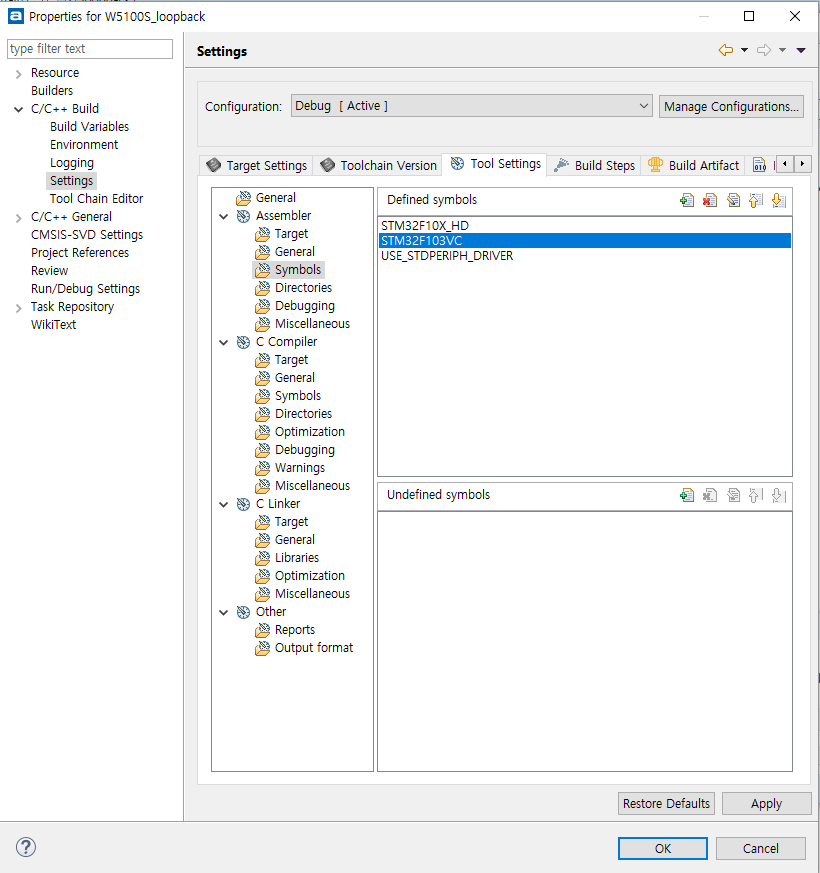
2. Click C/C++ Build tap -> Settings -> Tool Settings -> Assembler
-> Symbols and adds defined symbols list as below picture
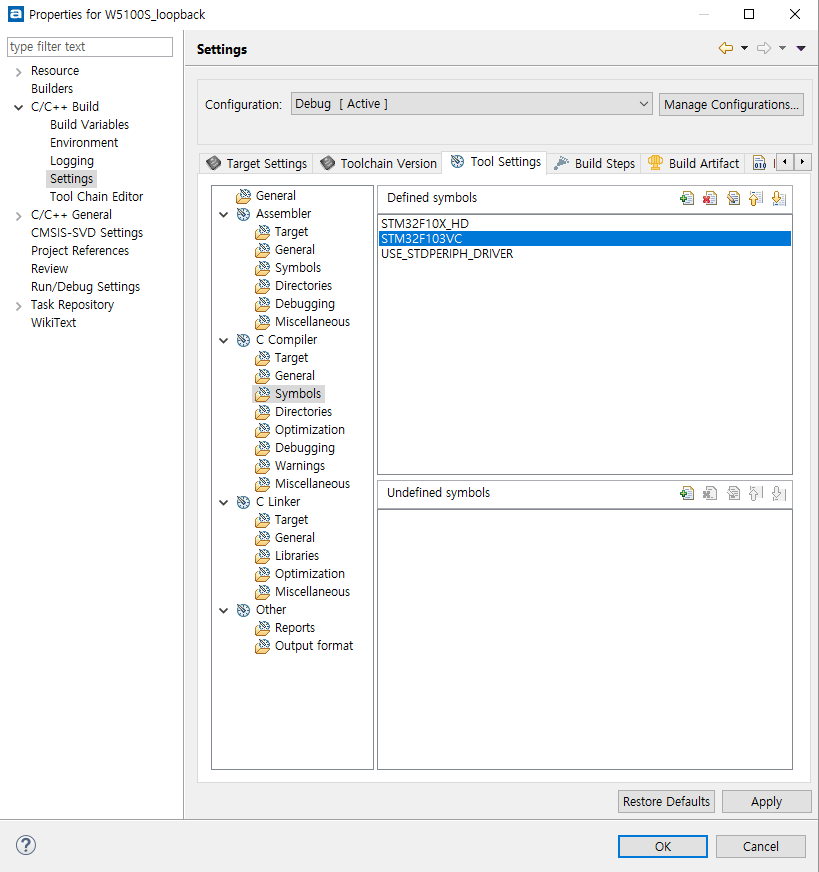
3. As above action that adds defined symbols in C compiler Symbols as
below picture
4. And Click Other tap-> Output format and check to Convert build
output as below picture

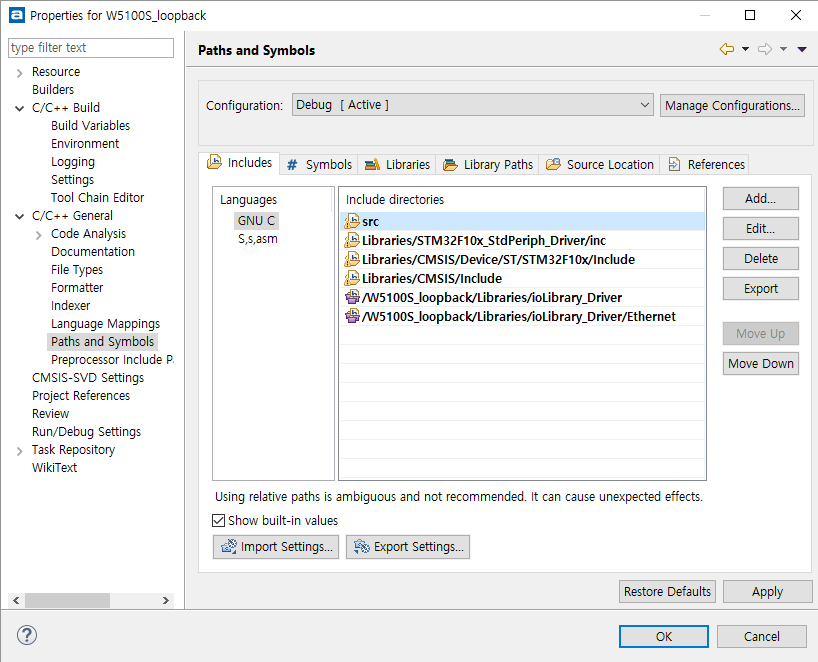
5. Next, Click C/C+ General tap -> Paths and Symbols -> includes ->
GNU C and adds include directories list as below picture
6. As above action that adds include directories in S,s,asm section as
below picture 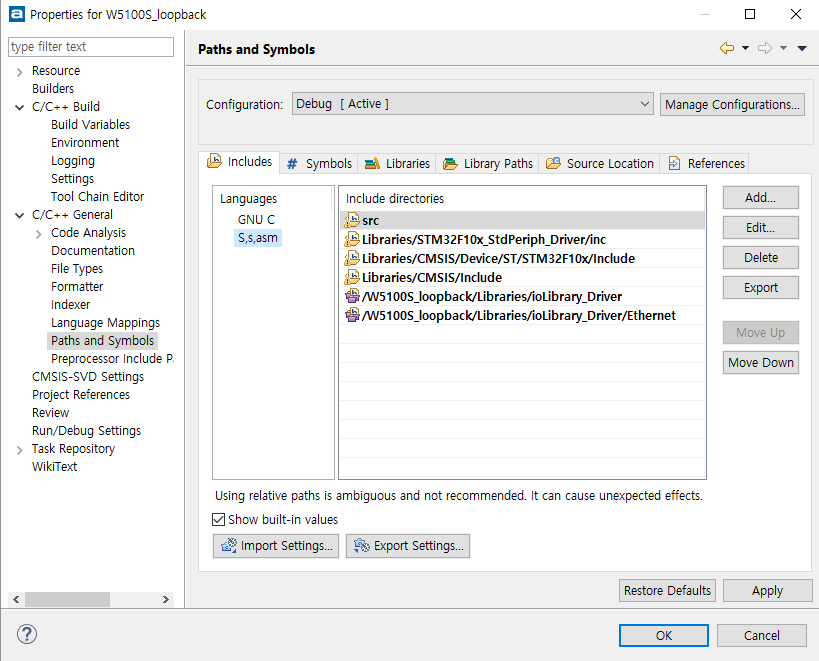
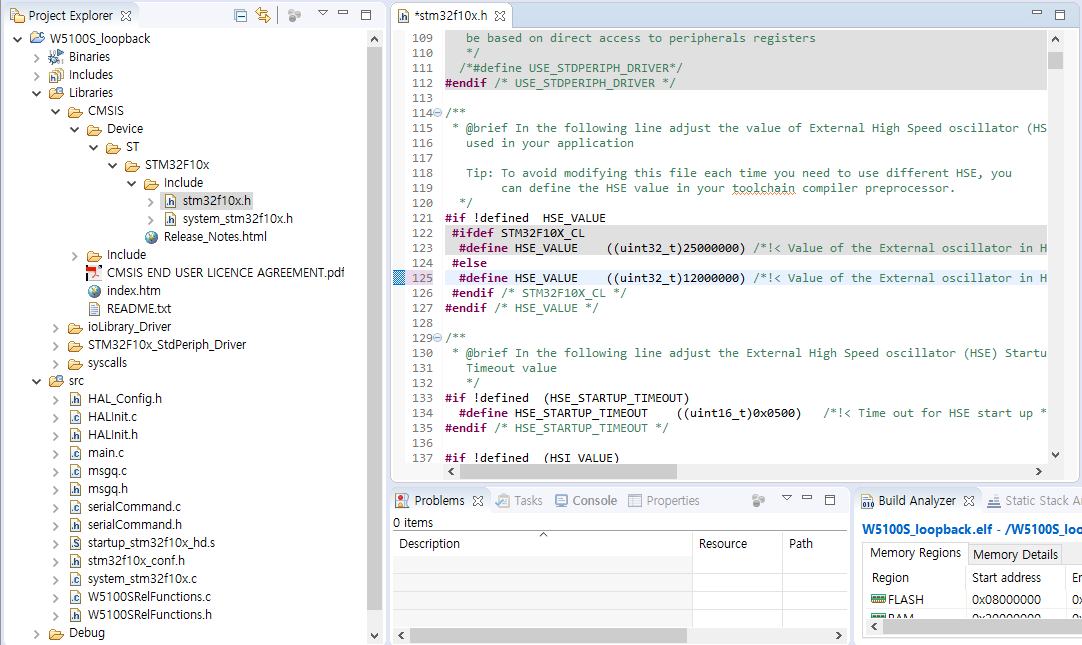
4. Modify stm32f10x.h file
Users should be modified to stm32f10x.h as below picture.
- Modified point is refer to below words and picture
- "#define HSE_VALUE ((uint32_t)8000000)" -> "#define HSE_VALUE ((uint32_t)12000000)"
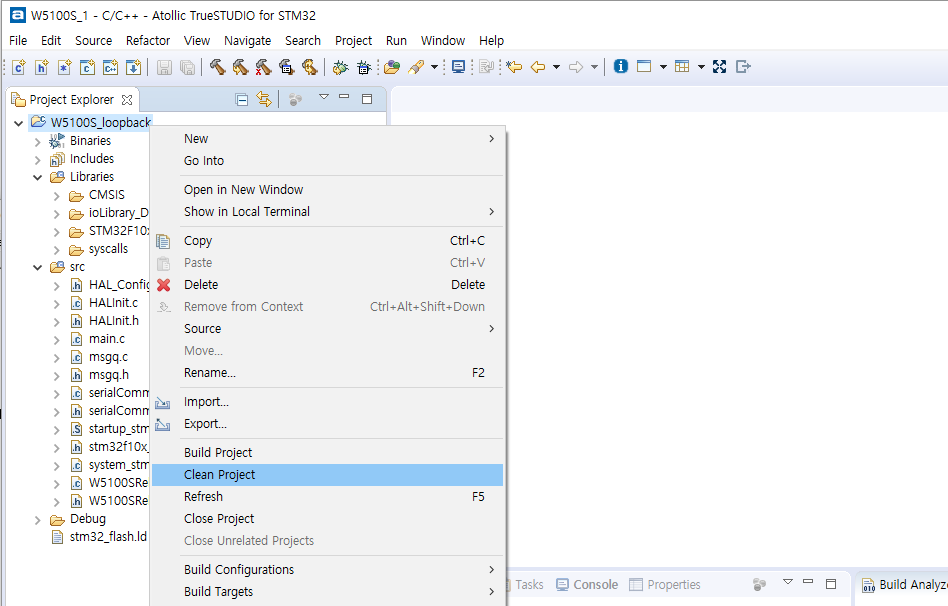
5. Project build And Complete settings
Before Complete, Users should check build project
1. Project mouse right click -> Click clean project
2. Project mouse right click -> Click project build
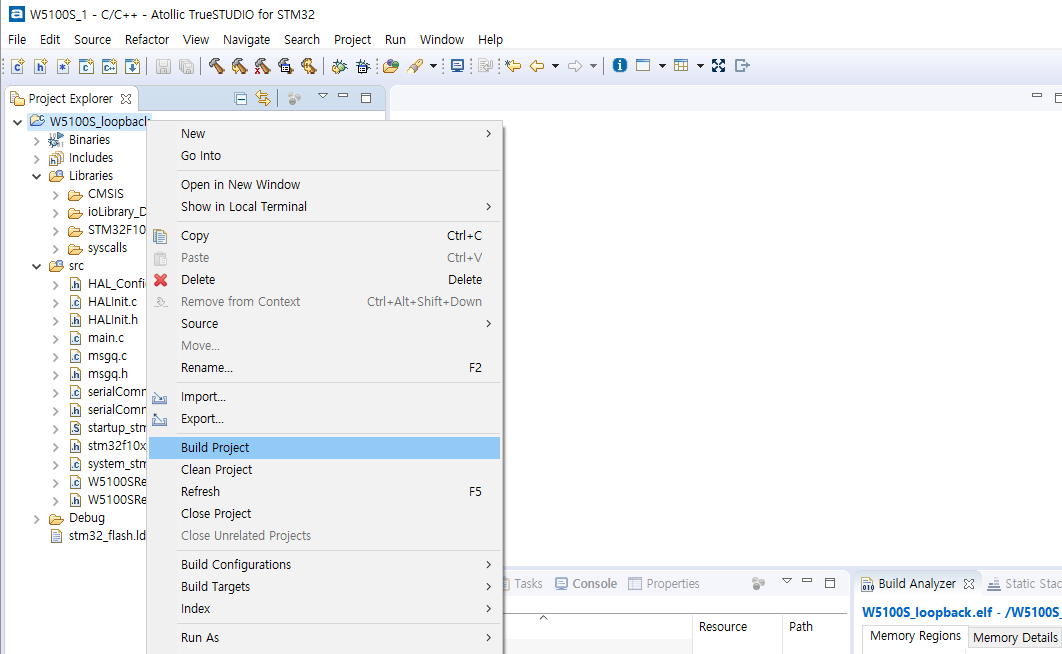
From now on, you can make your own application project based on the
newly created project for W5100S-EVB!
Enjoy W5100S-EVB !!