Make New W6300-EVB-PICO2 Projects using VS Code
This page introduces how to make the project for W6300-EVB-PICO2 with VS Code.
1. Install Files
- Your need program list here(Download links)
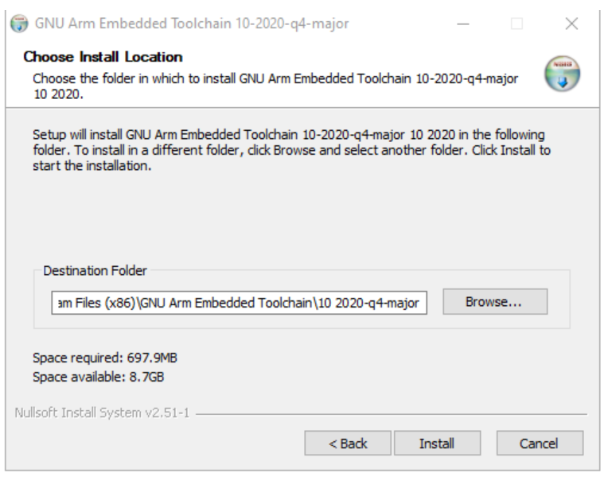
- Install ARM GCC Compiler
Set the path. We recommend installing it in the "C:\Program Files (x86)..." directory. Please remember this path, as it will be required in the VS Code environment settings below. If you have completed the path configuration, press Install.
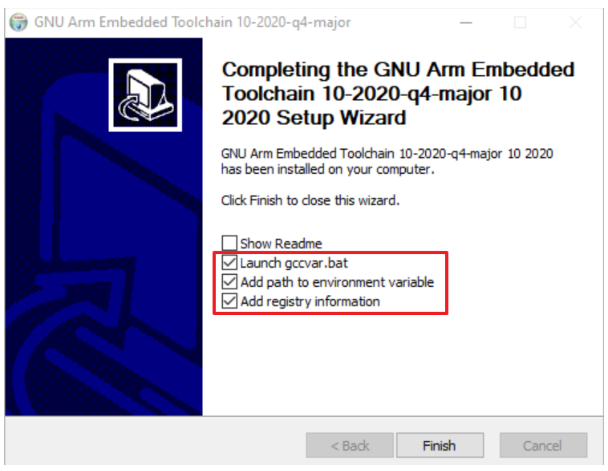
Click on the checkboxes below to match the picture and press Finish.
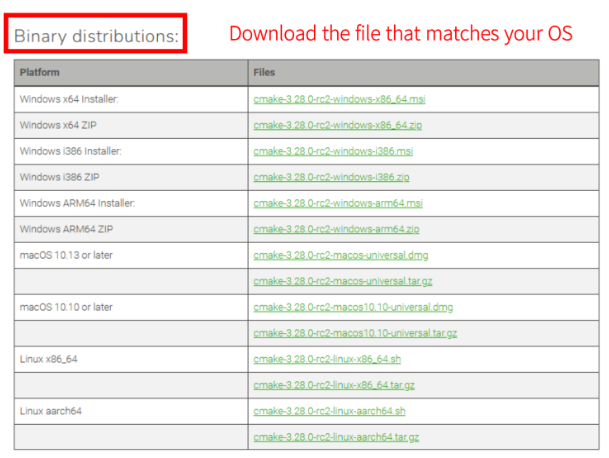
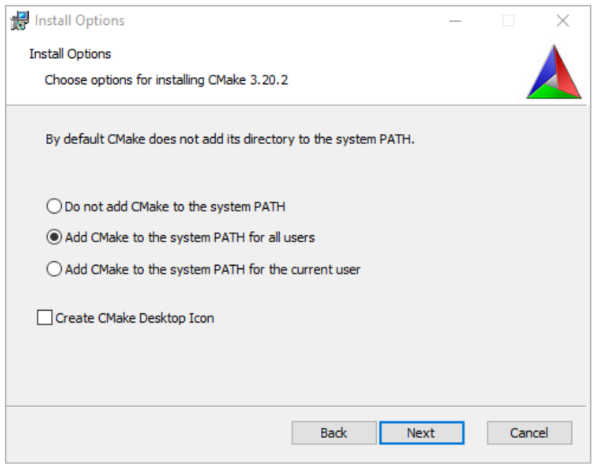
- Install CMake
Download the file that suits your user environment.
Select "Add CMake to the system PATH for all users" and click Next.
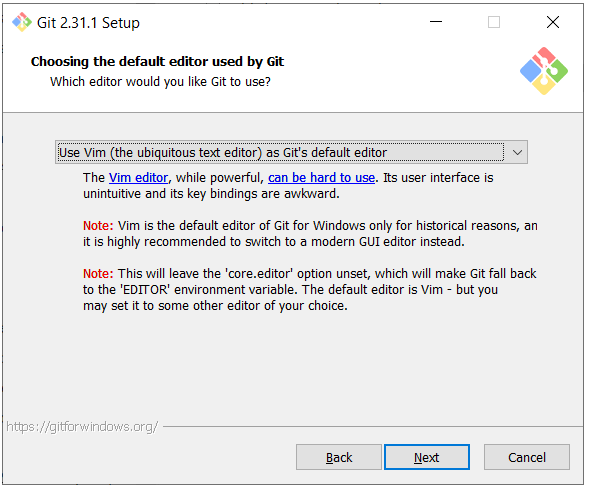
- Install Git
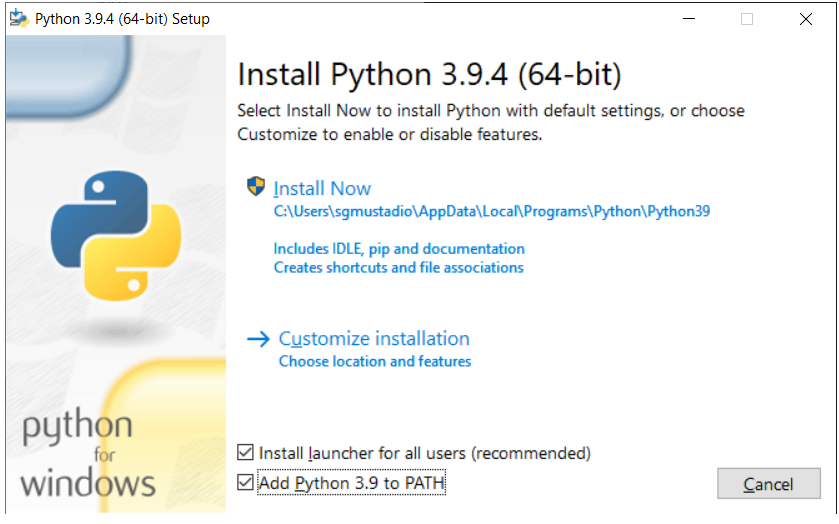
- Install Python
Run the installer. On the first screen, make sure that "Install launcher for all users (recommended)" is selected and check "Add Python to PATH".
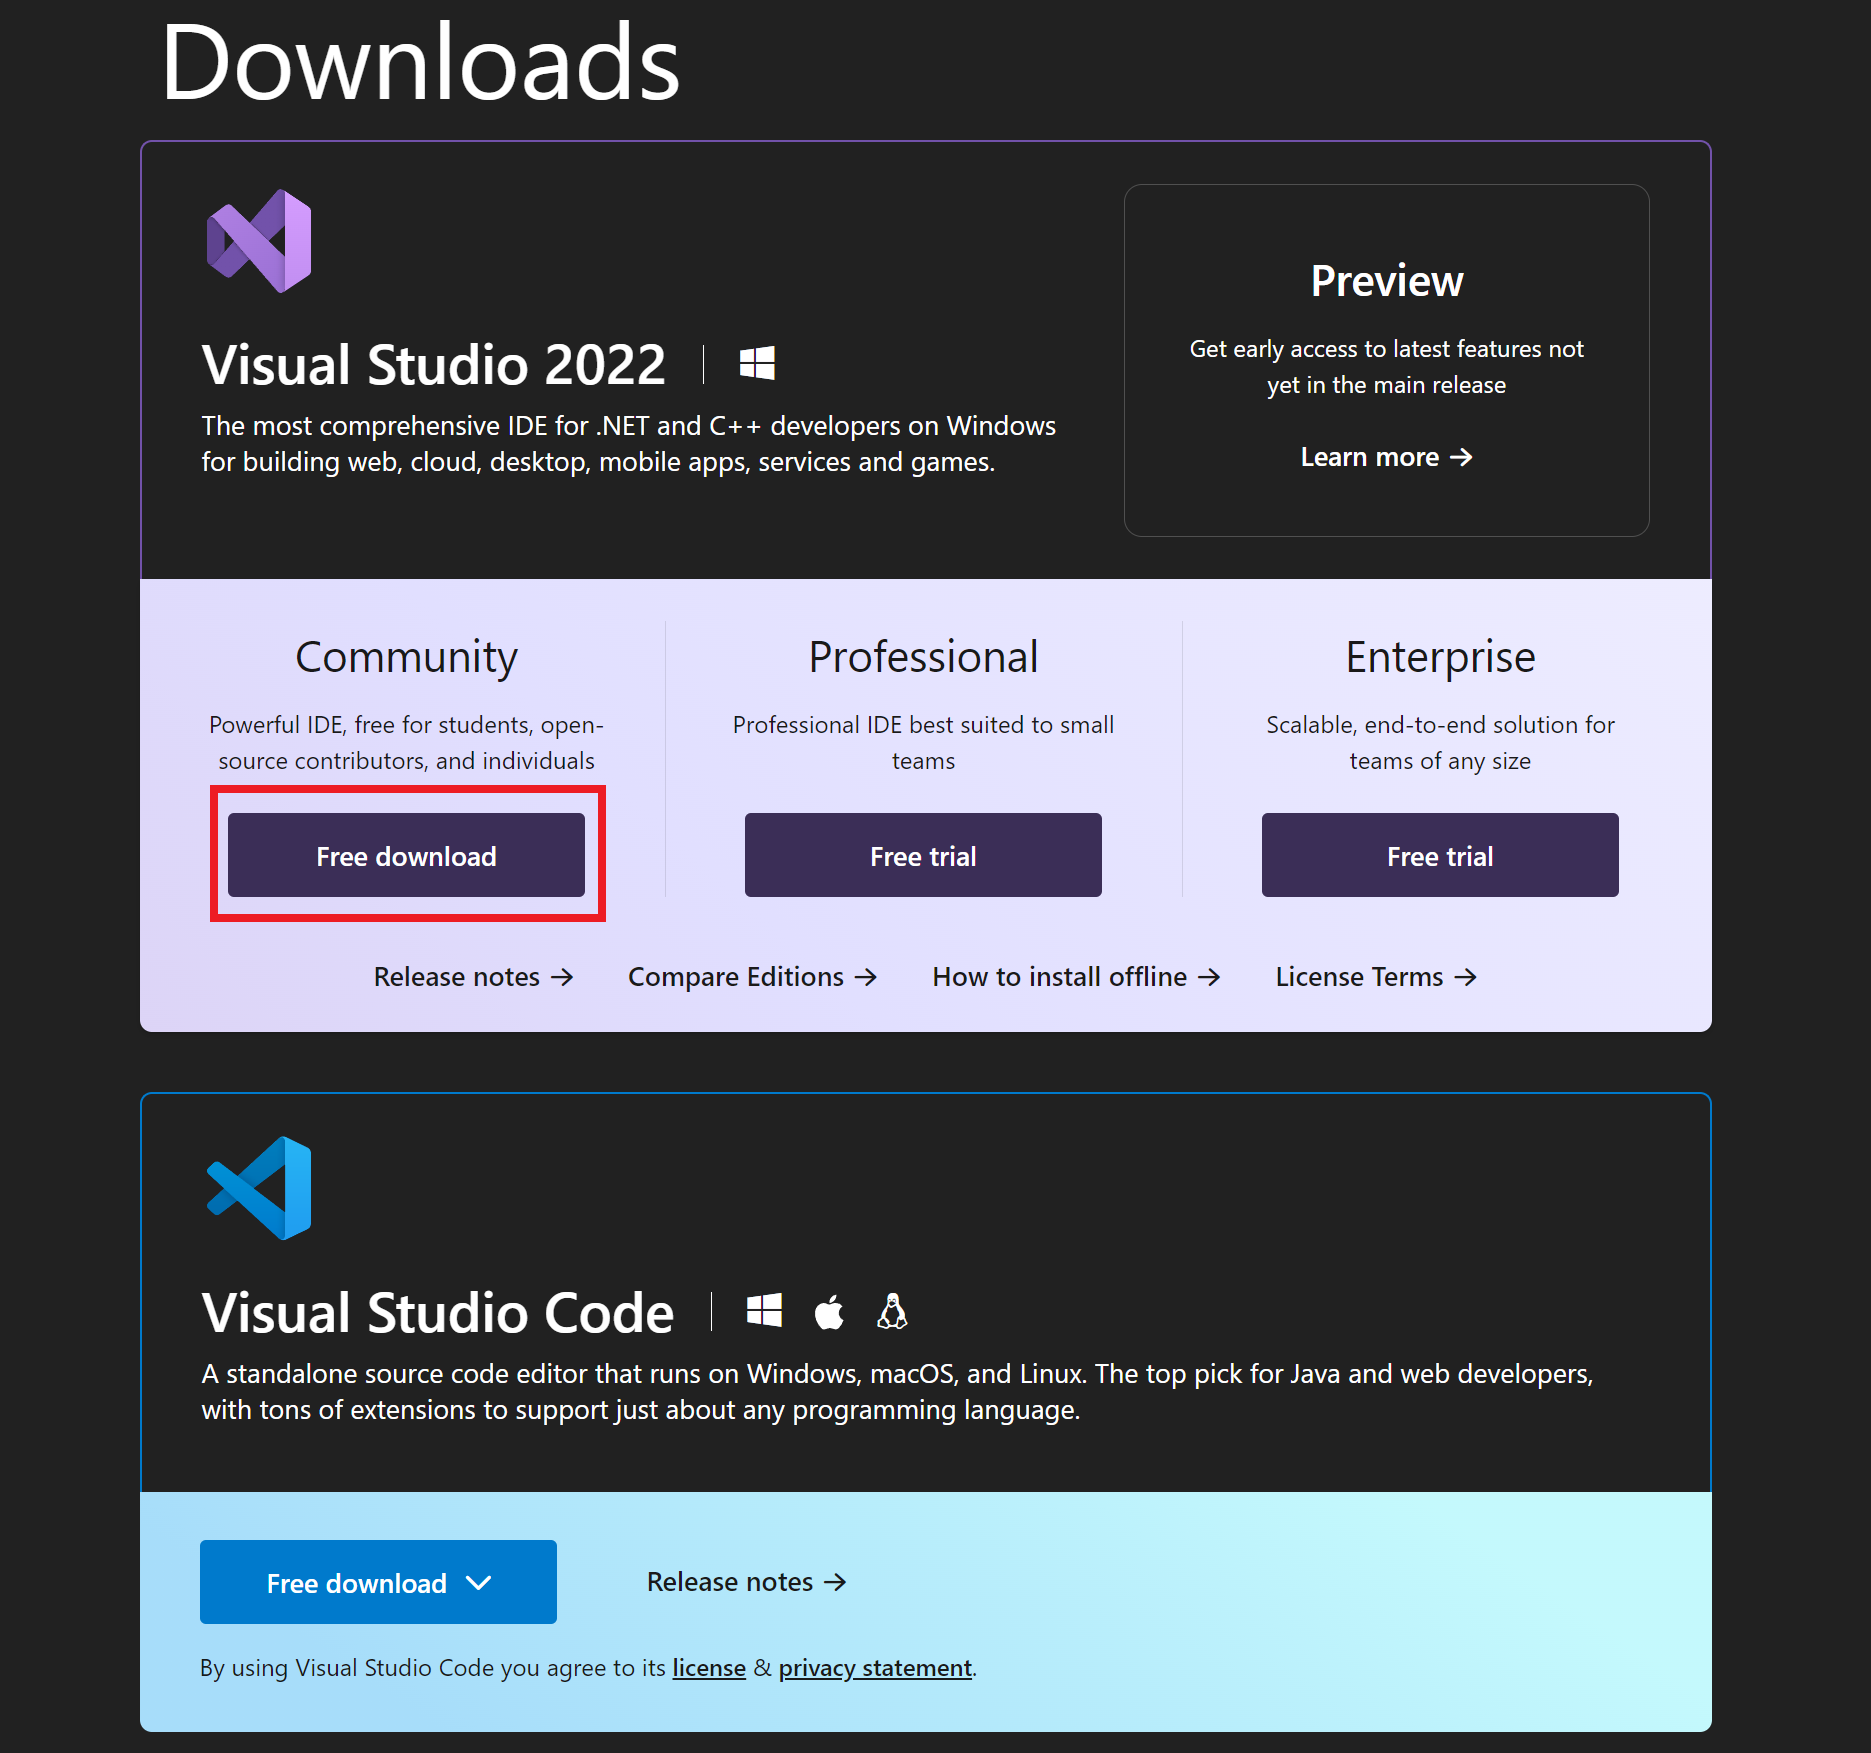
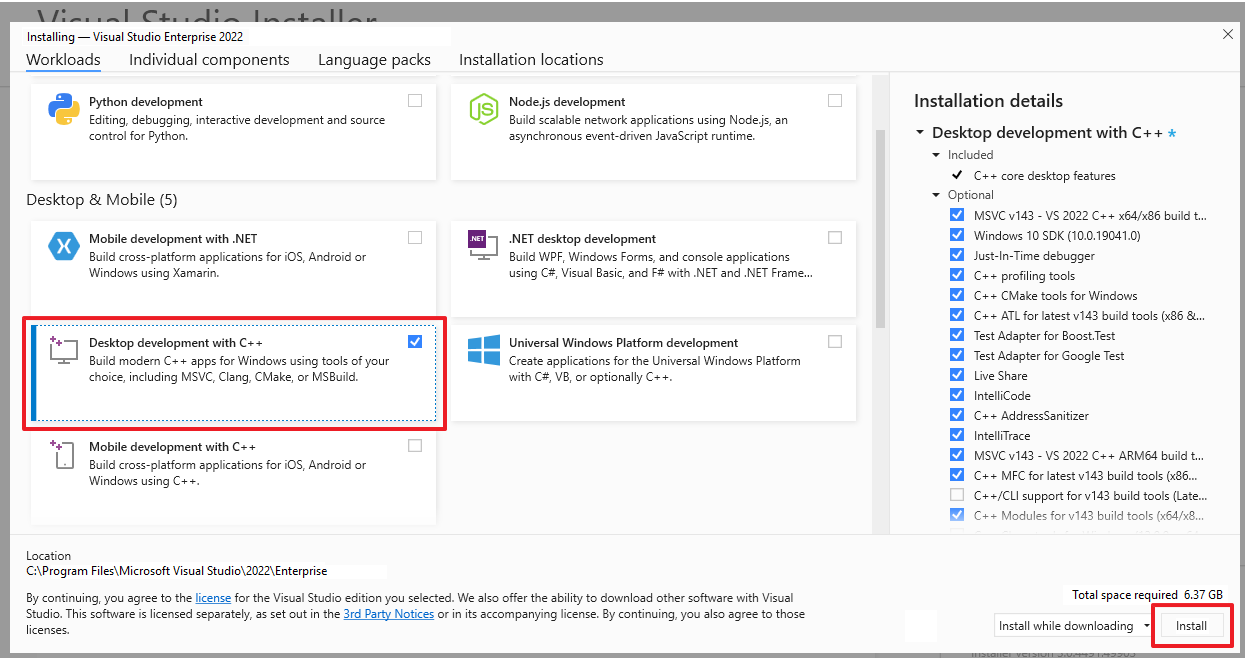
- Install Visual Studio Community
Click on "Free download" for Visual Studio 2022 and download the installation file of Commmunity. If you already have Visual Studio 2022, you don't need to install it again.
Choose the "Desktop development with C++" workload. and Click install button.
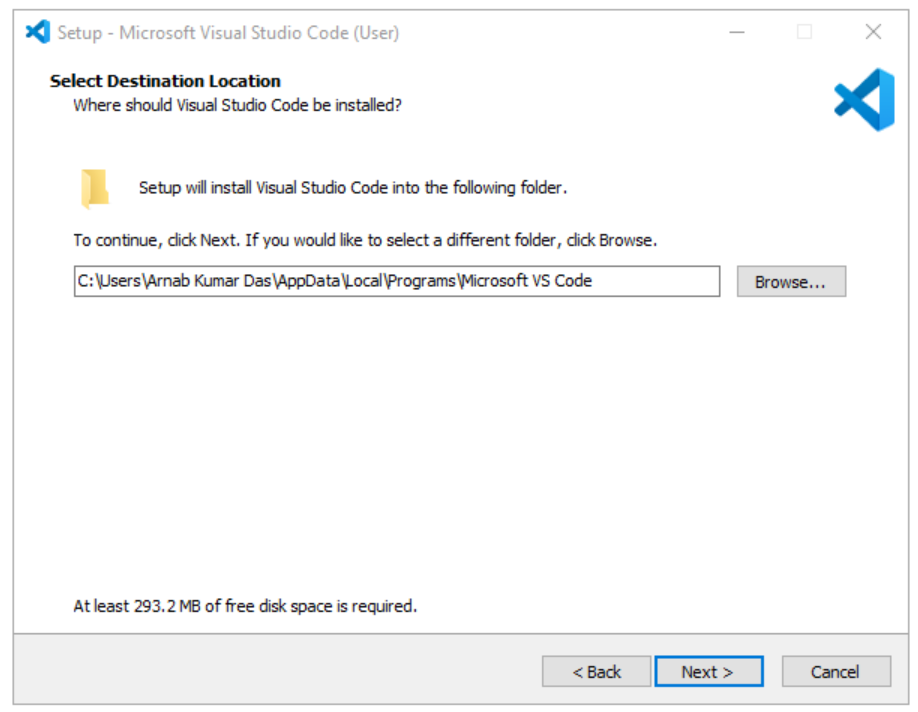
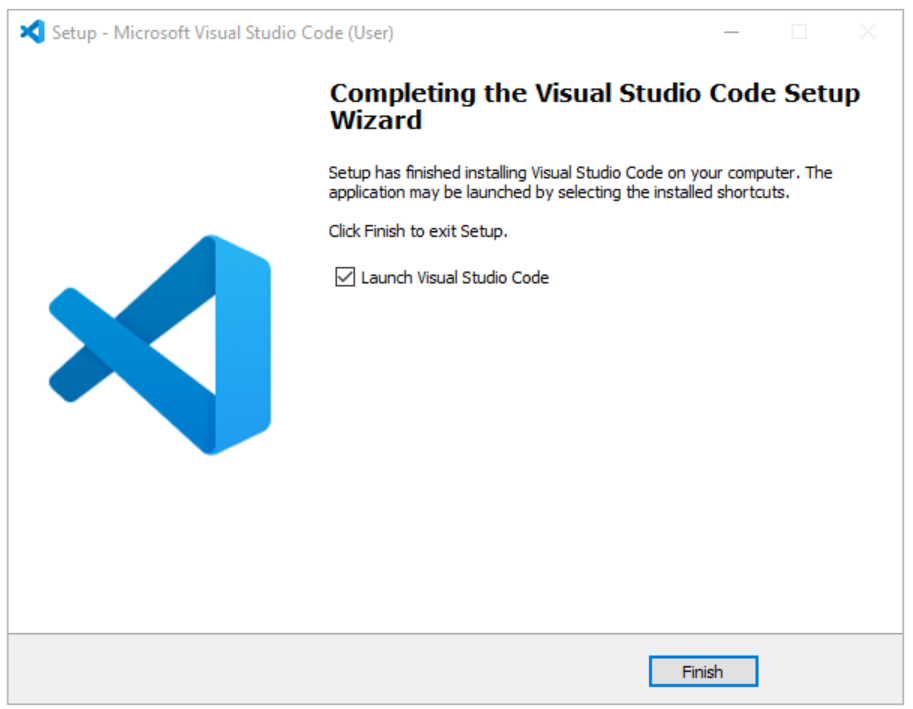
- Install VS Code
Verify the download path and press Next.
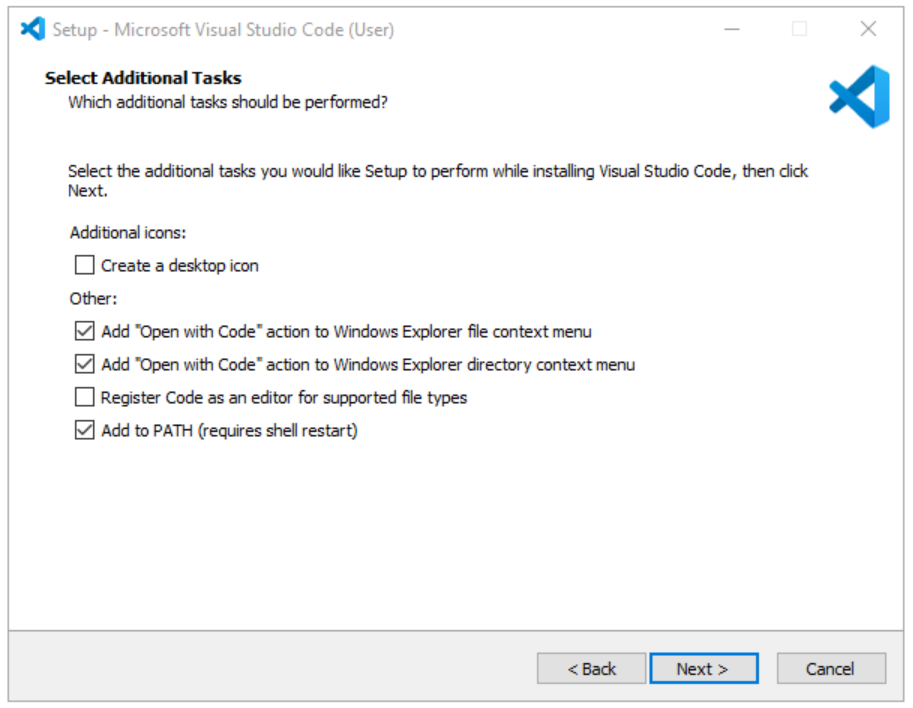
Click the checkboxes as shown in the picture below and press Next.
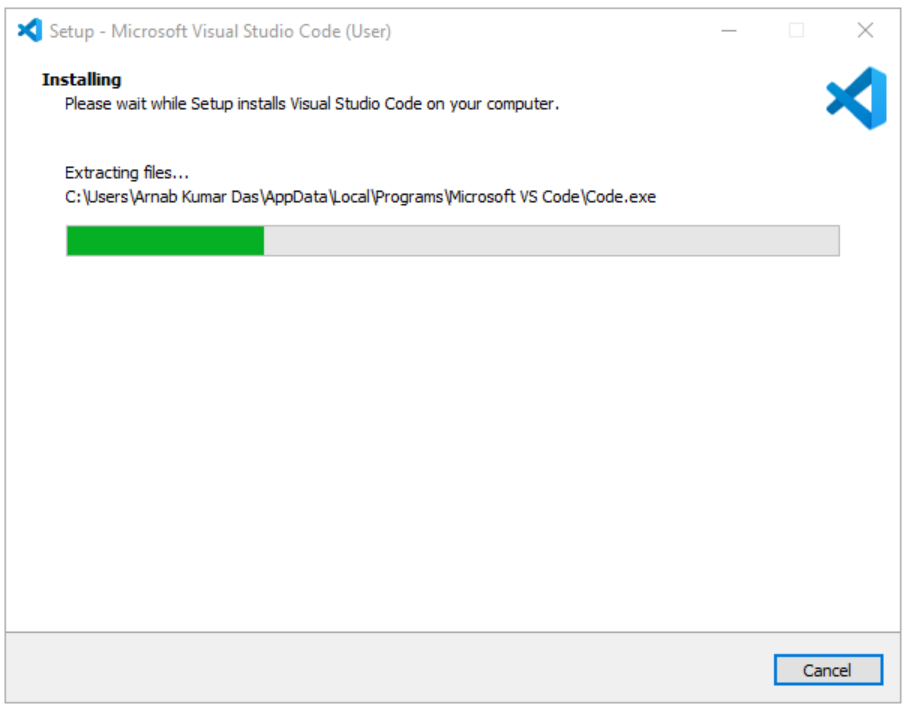
Wait for the download to complete.
Press Finish to complete the installation.
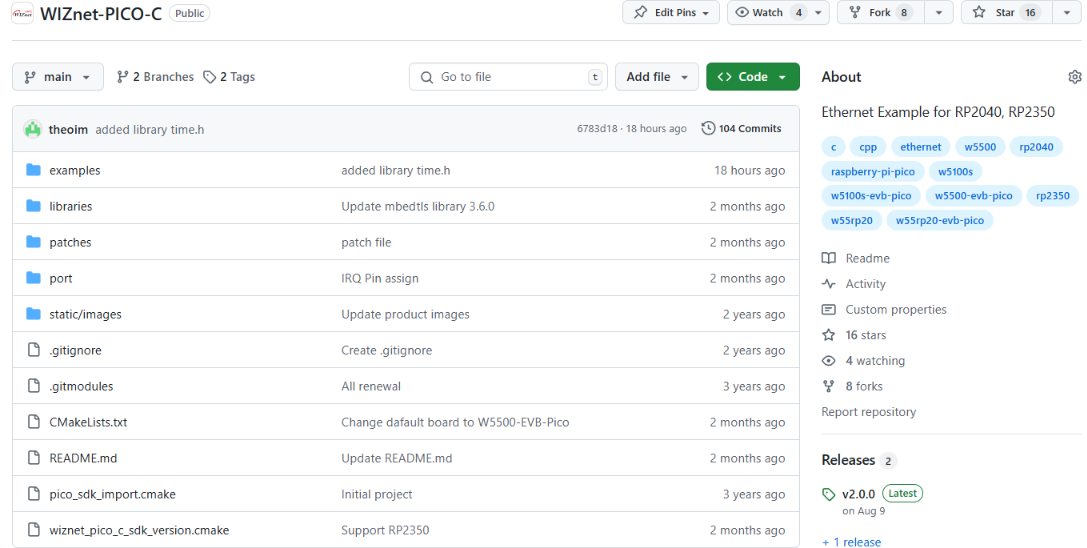
- Install WIZnet Pico Project**
First, make sure you've installed the WIZnet-PICO-C library from the GitHub link provided below. and Please Remember "PICO-SDK PATH".
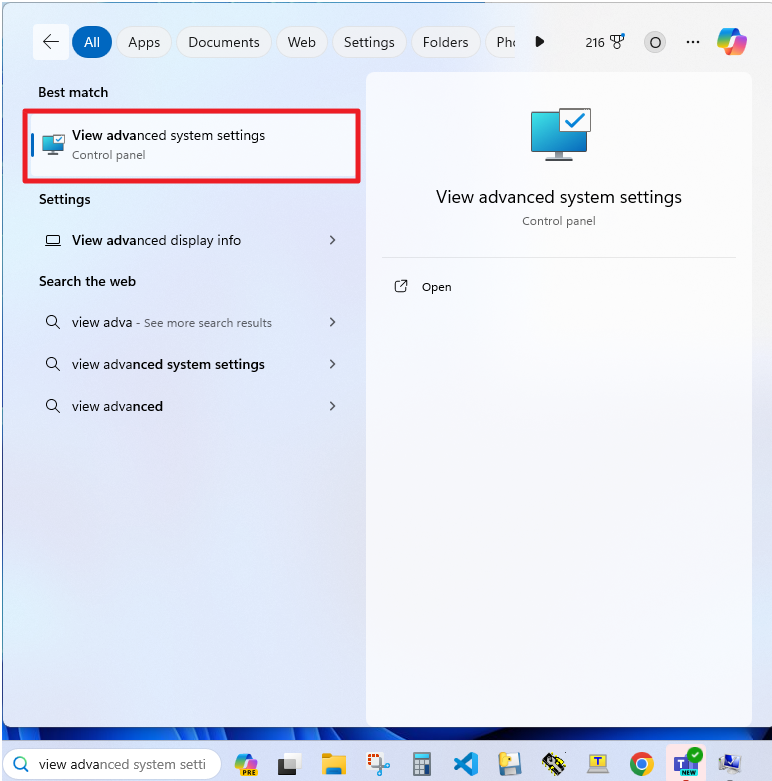
- Update Environment Variables**
Search for 'View advanced system settings' in the Windows search bar and click on it.
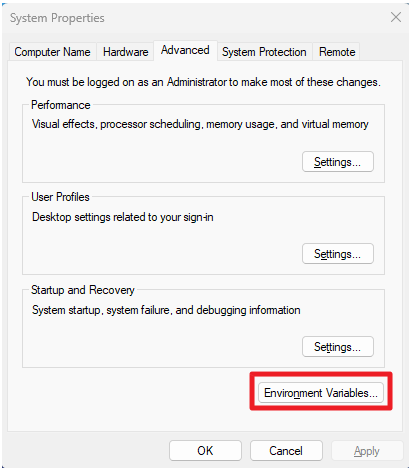
In System Properties, click on 'Environment Variables ...' below.
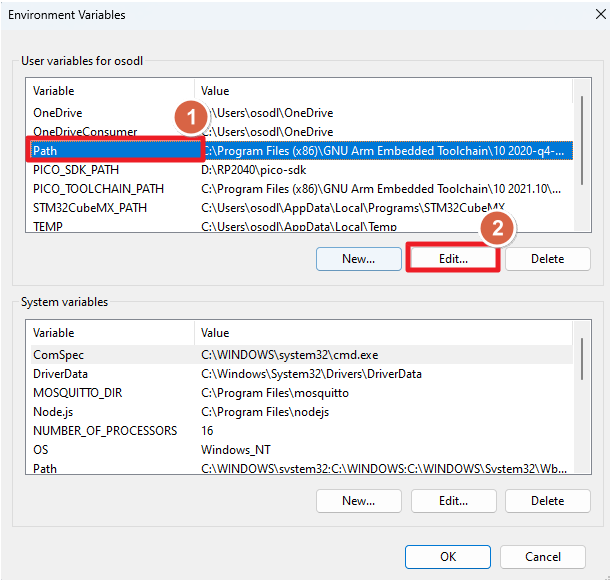
Select 'Path' in the 'User variables for xxx' category and press 'Edit...'
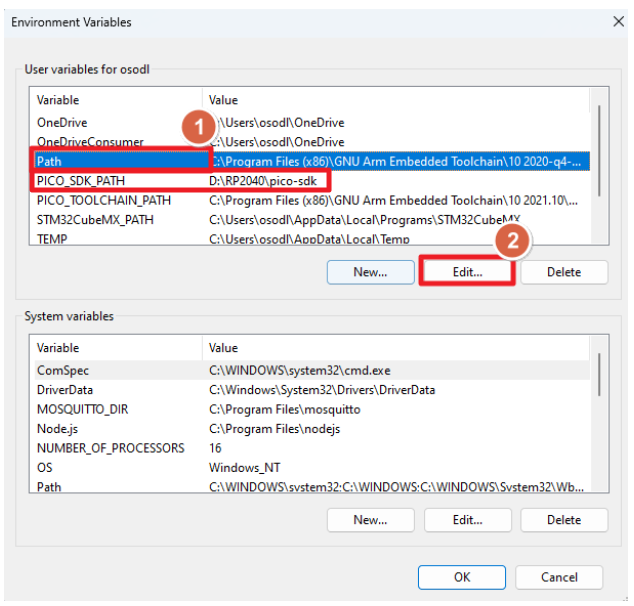
Press 'New' to add the toolchain directory & PICO-SDK and press 'OK'.
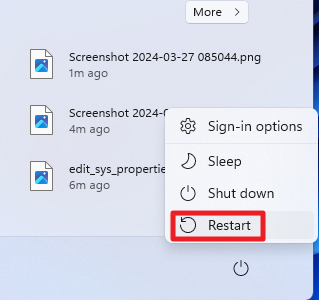
If you have added the variable, restart your PC or laptop.
2. Install VS Code Extensions
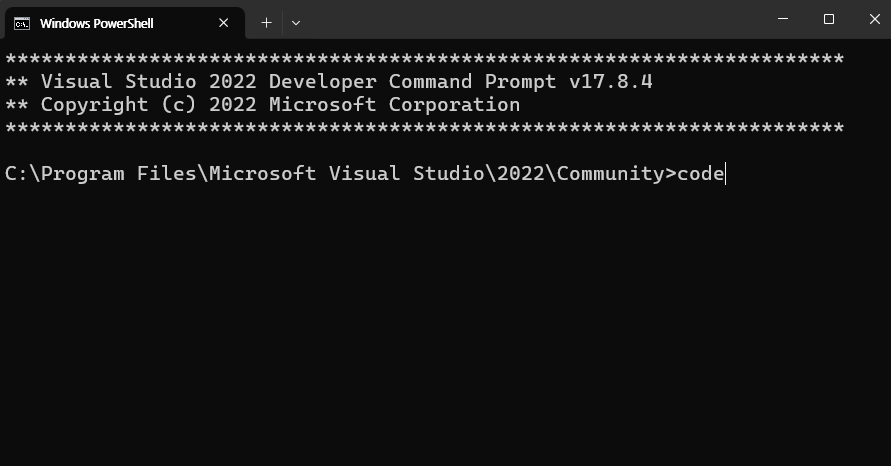
In 'Developer Command Prompt for VS 2022', you must call the code command to run VS Code. Execute 'Developer Command Prompt for VS 2022' in the Windows search bar below.
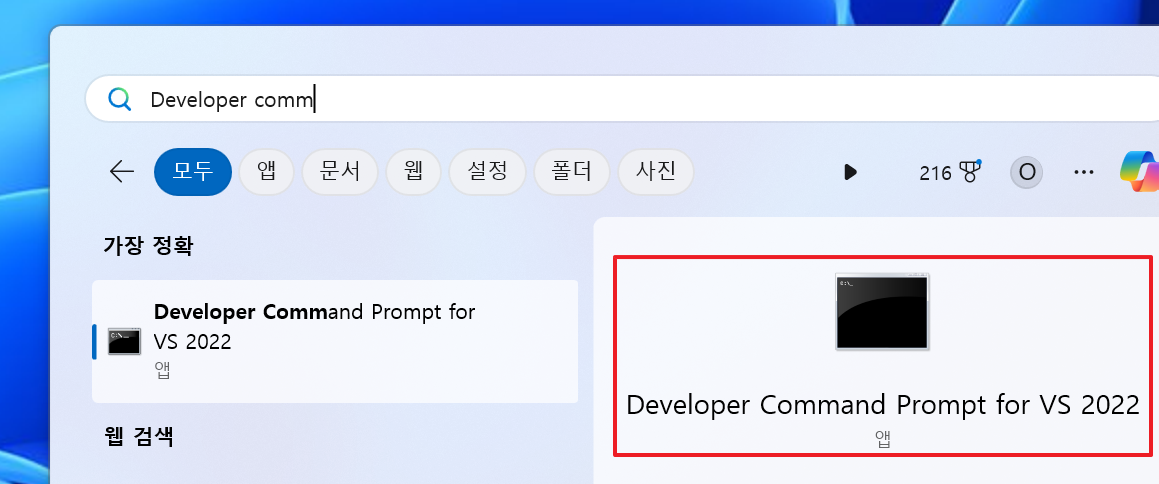
Call the 'Code' command to execute VS Code.
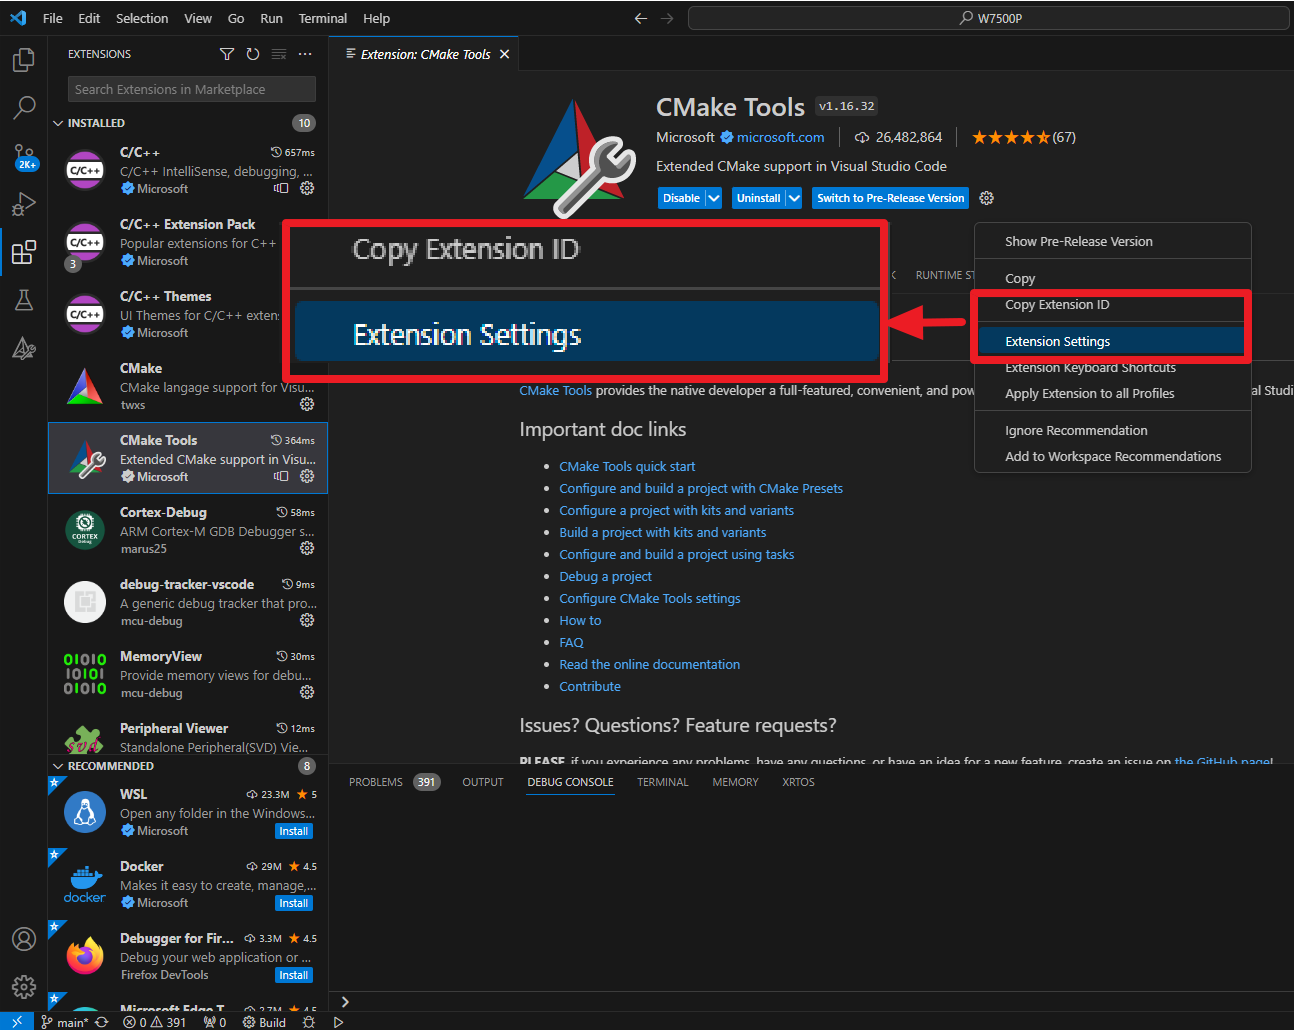
Search for and install the three extensions shown in the image below in the extension program search bar.

In CMake Tools, go to "the gear icon (settings) -> Extension Settings
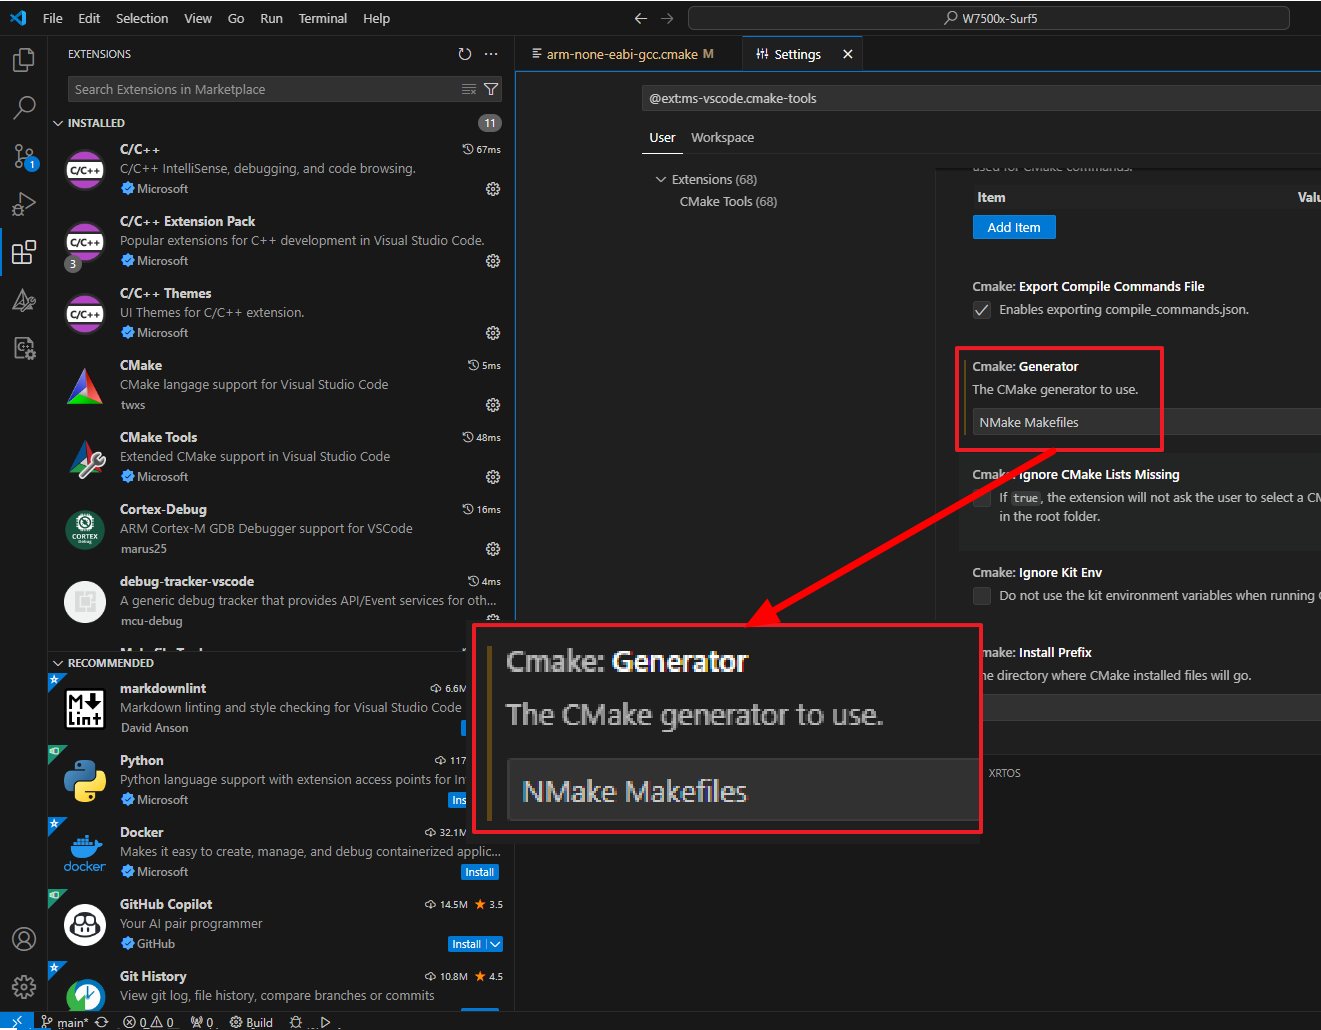
enter "NMake Makefiles" in the "CMake: Generator" field. make sure to check the case sensitivity of "NMake Makefiles".
| CMake: Generator |
|---|
| NMake Makefiles |
3. Build Project in VS Code
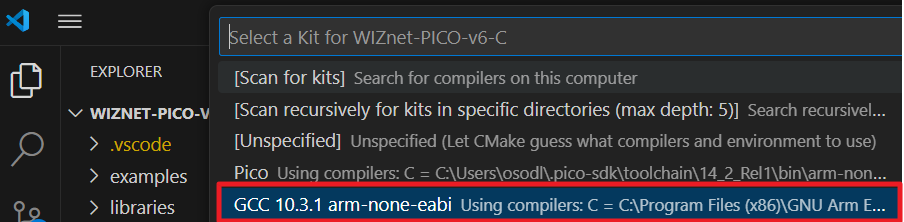
Press the F1 key, and then click on "CMake: Select a Kit".
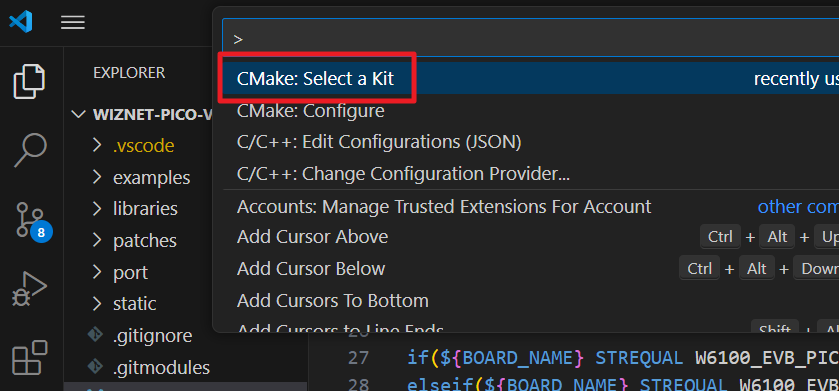
Select "GCC 10.x.x arm-none-eabi" to configure the kit.
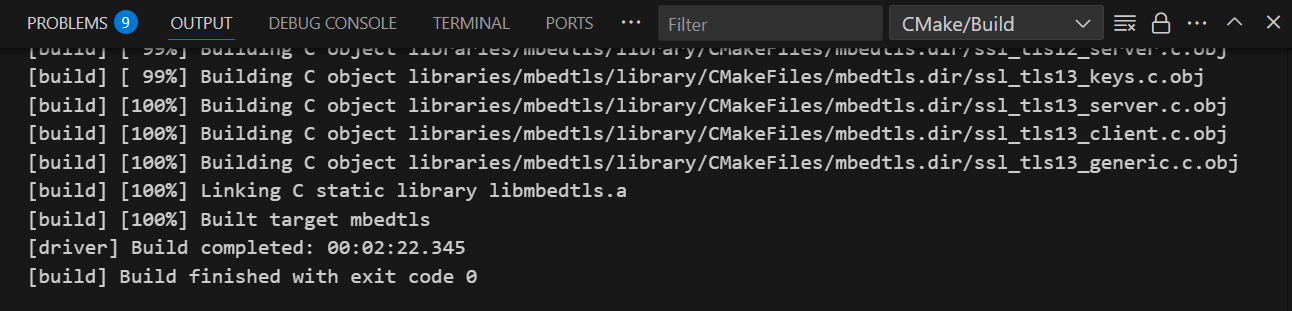
Click the "Build" button at the bottom or press F7 to start the build process.
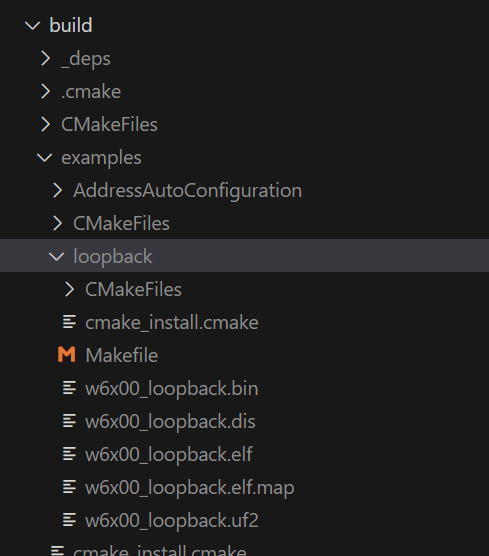
If the build is successful, the following logs will appear in the Problems tab of VS Code.
4. Use WIZnet PICO Program!
Upload the UF2 file located in the build directory to the PICO storage to use it!